
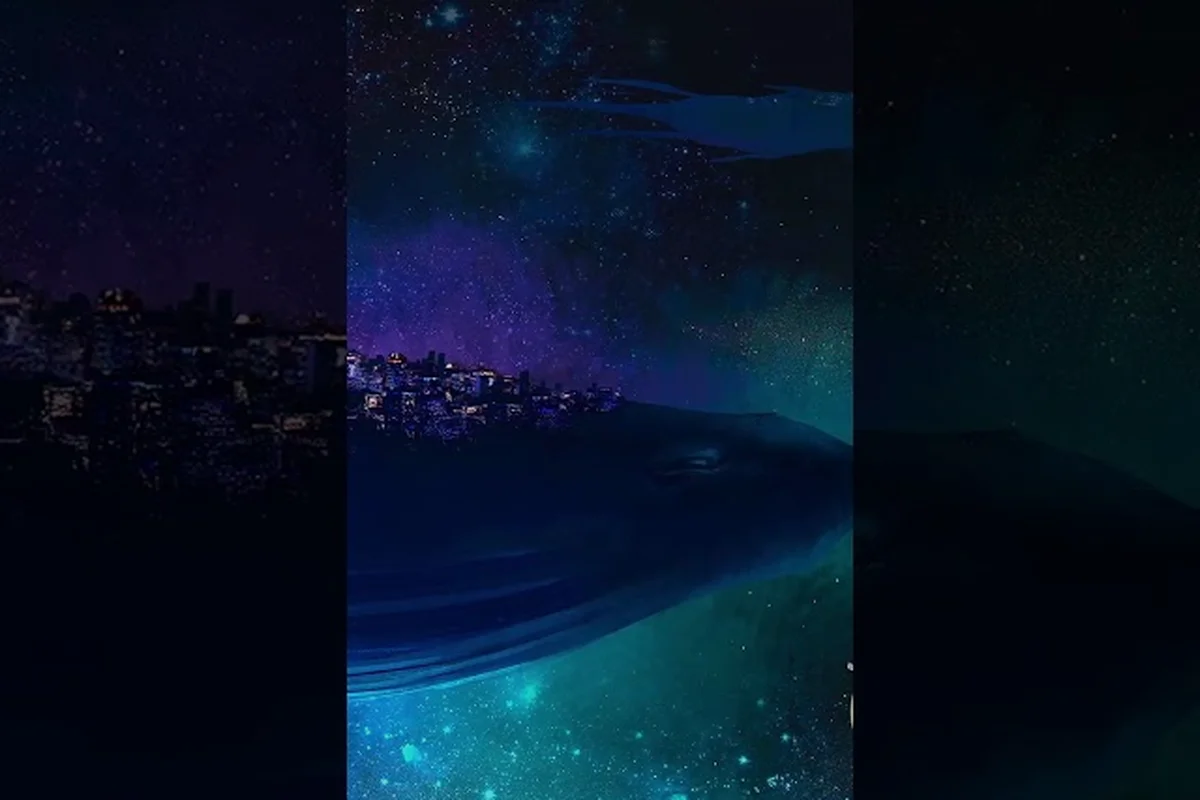
Beyond These Stars turns the back of a giant Space Whale into a moving city, and the galaxy around Kewa is the playground where most of the long-term motivation lives. The map system is what carries a settlement from one biome to the next, threading together sectors, planet nodes, alien contacts, and trade stations that you only learn to read after a few runs. For anyone trying to figure out what to do once Story Mode ends — or whether a second save is even worth starting — understanding how beyond these stars maps is laid out is the single biggest unlock the game offers.
How the Beyond These Stars Map System Works
The map in Beyond These Stars is not a single screen. It opens in stages, which is why the launch community keeps describing the experience as "slow-burn" rather than "explosion." When you start a fresh settlement on Kewa, the Galaxy Map is only partially visible. New sectors, nodes, and connections reveal themselves over time as you complete research, talk to Kewa, and send your first ships out of orbit. The map you finish the game with is a very different document from the one you started with — and that gap is the reason the game keeps being worth replaying.
The Galaxy Map vs the Solar System View
Two distinct cartography layers exist in the game, and confusing them is the most common reason new players think they have "seen everything." The Galaxy Map is the macro layer: a star-field dotted with named sectors, each holding nodes that can contain barren planets, space junk, strange objects, trade stations, or aliens. You zoom out, you pick a direction, and you commit Kewa to travel. The Solar System View, by contrast, unlocks right after your first conversation with Kewa and zooms in on a single star system — the one Kewa is currently passing through — showing the planets, moons, and node detail that the Galaxy Map abstracts away.
| Layer | What It Shows | When It Unlocks | Primary Use |
|---|---|---|---|
| Galaxy Map | Named sectors, macro routes, distant nodes | Partially visible at start, fills out over time | Picking the next region to explore |
| Solar System View | Planets and nodes in Kewa's current system | After the first conversation with Kewa | Selecting where to send the Scout Ship or land a Settlement Ship |
| Planet Surface | Buildable tiles on a settled planet | After the Settlement Ship lands | Laying out buildings, farms, and terraforming features |
The naming matters: Dev Blog #28 refers to the macro layer as the "Galaxy Map," and the dev team uses "Solar System View" for the mid-zoom layer. Both are official terms, and both appear in the in-game UI rather than only in developer posts.
How Sectors Reveal Over Time
Sectors are not handed to the player all at once. Instead, each new stretch of the galaxy becomes legible as Kewa travels, as research completes, and as dialogue with Kewa nudges the story forward. Community reports describe a "fog of war" effect that clears in chunks rather than continuously, which is why the same save file can feel like three different games in one — early game fog, mid game clear corridors, late game fully-charted space.
That gradual reveal is also the engine behind much of the replayability discussion. A second run does not start where your first run ended; it starts again with most of the galaxy hidden, and the pleasure of the second playthrough comes from recognising the shapes you learned the first time around. If you want a deeper breakdown of how travel and the macro map connect, the Beyond These Stars galaxy map guide walks through the same system from a different angle.
Sector Types and What Each One Holds
The official material describes sectors by what their nodes contain rather than by a fixed named roster. Dev Blog #28 explicitly lists five node types that can appear on a Galaxy Map sector: barren planets, space junk, strange objects, trade stations, and aliens. Each one behaves differently when you arrive, and each one feeds a different part of your settlement's economy or story.
Barren Planets, Strange Objects, and Space Junk
Barren planets are the most common node type and the one you will land on the most. They are the targets of Settlement Ships — vessels the player does not build but receives as the campaign progresses — and they become the home of Outposts, which supplement what Kewa cannot supply on her back. Strange objects and space junk nodes are flavour-and-reward encounters: short events, salvage, and small lore beats that fill out a run without redirecting the economy. The developer has not published a per-node drop table, so the only honest statement about them is that they appear in enough variety that two consecutive runs do not feel scripted.
Trade Stations, Aliens, and the Neutral Sector
Trade stations are the macro-map's economic stops. They are not buildings you place on Kewa — Dev Blog #28 places them firmly on the Galaxy Map as a node type you travel to, alongside the other four. Aliens are similar: nodes you reach, not a permanent fixture on your whale. The most concretely named region in the official material is the Neutral Sector, a sector that Dev Blog #28 describes as holding a moderate-climate planet with chickens and cows. It is the only named sector in the public developer posts, and it functions as a kind of "default" region you can rely on encountering.
| Sector Node Type | Where It Lives | What It Gives You | Player Action |
|---|---|---|---|
| Barren Planet | Galaxy Map node | Settleable surface, room for Outposts | Send a Settlement Ship |
| Space Junk | Galaxy Map node | Salvage and short events | Investigate with the Scout Ship |
| Strange Object | Galaxy Map node | Lore and small rewards | Investigate with the Scout Ship |
| Trade Station | Galaxy Map node | Macro-economy exchanges | Dock and trade |
| Alien Contact | Galaxy Map node | Story beats, Ublo among others | Investigate with the Scout Ship |
The fact that "trade station" is a node type rather than a building is a common misconception. Dev Blog #28 is explicit: the only player-built space structures are the Space Port, the Landing Pad, and the Spaceship Builder. Anything that reads like a "space station you construct" is actually a Galaxy Map feature you travel to. For a clearer picture of how the named macro regions — including the Neutral Sector — sit on the broader map, the Beyond These Stars star types guide is a useful companion read.
Discoveries, Secrets, and What the Game Hides on Purpose
Discoveries in Beyond These Stars fall into three rough buckets: explicit unlocks (a new sector appears, a new building becomes available), implicit rewards (a strange object node gave you a small thing you did not expect), and pure secrets — features that exist in the data or in the developer's own posts but that most players miss because nobody points at them. The first bucket is documented; the second is mostly community chatter; the third is where the conversation around "beyond these stars secrets" actually lives.
The Developer-Confirmed Secret Layer
The most clearly labelled secret in the public material is Kewa's happiness system. The game tracks a wellbeing pool for the Space Whale that is distinct from any per-Peep metric, and dialogue choices nudge it up or down. Dev Blog #29 added a galaxy-temperature layer to that system: a hot galaxy drags Kewa's happiness down, and if the pool falls far enough, Kewa triggers emergency travel to a colder region. The community has taken to calling this the "Kewa temperature mechanic," but the official term is simply temperature, and the official behaviour is described in Dev Blog #29. The developer's own joke from the same post — that unhappy Kewa will eat the planets you settled — is explicitly a joke and is not a mechanic.
| Layer | Official Term | What It Affects | Source |
|---|---|---|---|
| Kewa happiness | Happiness | Triggers emergency travel at low values | Dev Blog #29 |
| Galaxy temperature | Temperature | Pulls Kewa's happiness up or down | Dev Blog #29 |
| Biome health | Biome | Sustained by tree planting, low pollution, rivers | Dev Blog #29 |
| Peep sickness | Sickness / Mourning | Rises as Peep energy falls at shift start | Dev Blog #25 |
Each of these is officially documented but easy to overlook, which is why players tend to call them "secrets" in conversation even though they are written down. The hot-galaxy emergency travel, in particular, is the kind of feature most players only encounter by accident on a first run, then deliberately trigger on a second.
The Community-Reported Layer
Because Beyond These Stars launched on 2026-10-16 — a single day before this article was written — third-party coverage is essentially absent. The only community hub with any volume is the official Discord, which had roughly 5,306 members at launch (snapshot 2026-10-17), and a very small number of player-written guides on the the settleable planets dev blog. Most of the "secrets" being discussed there are observations from players' first runs, not verified findings.
Two patterns have already emerged from that small sample, though they should be treated as community reports rather than confirmed mechanics. First, the reveal pace of the Galaxy Map feels different between Story Mode and Sandbox Mode — the developer has confirmed that Sandbox Mode lets you choose which resources, water distribution, terrain, and planets you start with, and community players report that the starting map layout is correspondingly more open. Second, certain named characters (Baz the Wanderer, José, Ublo, Matilda, Kieran, Jerry, N'Orva, Lottie) appear as dialogue triggers that nudge Kewa's happiness — and the order in which you meet them changes the early-game map reveal. The cast list itself is from the official press kit, which is the only authoritative source for those names.
Replayability: Is Beyond These Stars Worth a Second Run?
The replayability question has a clearer answer than the secrecy question does. The game's design is built around multiple distinct runs feeling different, and the launch community is already describing the title as "replayable by default" rather than "replayable if you push it." The reasons are mechanical, not just thematic, and they sit on top of the map system.
The Structural Reasons Replayability Works
Three structural features carry the replayability argument. First, the Galaxy Map's reveal is gated by progress within a save, not by a global unlock — a fresh save file resets the map to its partial state, so the macro exploration is meaningfully replayed. Second, Story Mode and Sandbox Mode are two genuinely different experiences: Story Mode follows the developer's recommended path with the named cast and the Kewa arc, while Sandbox Mode lets you choose resources, water distribution, terrain, and planets from the start. Third, the developer has confirmed that Settlements, Outposts, and per-run tech progression do not carry over, so a fresh settlement has to re-derive its economy from scratch.
| Replayability Driver | Official Confirmation | Effect Across Runs |
|---|---|---|
| Galaxy Map reveal resets per save | Dev Blog #28 — map is partially visible at first | Each run rediscovers the macro layout |
| Story vs Sandbox separation | Dev Blog #27 — Sandbox chooses resources and planets | Two distinct game modes in one purchase |
| No cross-save progression | Standard colony-sim structure | Each run rebuilds from the Home Spaceship |
| Random sector node distribution | Dev Blog #28 — nodes can contain 5 node types | Two runs visit different mixes of planets and aliens |
| Kewa's temperature trigger | Dev Blog #29 — emergency travel at low happiness | Late-game map reroute is run-specific |
Players who have finished a Story Mode run and are asking "is it replayable" can answer yes with confidence, but the more useful question is "which mode do I start with." The developer recommends Story Mode for first-time players, and that recommendation is worth taking — the named cast and the Kewa dialogue arc are largely Story Mode content, and they are what the macro map is designed around.
How Long a Replayable Run Actually Takes
The honest answer at launch is "the developer has not published a typical run length." Community estimates from the small Discord sample put a Story Mode first run somewhere in the double-digit hours, but with only 26 reviews on the Steam page (21 positive, 5 negative, snapshot 2026-10-17), the sample is too thin to trust. For a more structured look at how the galaxy's size relates to playtime, the Beyond These Stars galaxy size guide is the closest official companion to this question, though it too is limited by the fact that the developer has not published a hard number.
Practical Map Tips for New and Returning Players
The map system rewards a particular kind of patience, and the first ten hours are very different from the second ten. The tips below are drawn from the official Beginner Guide, the dev blog series, and the small body of community experience that has already accumulated.
Early-Game Map Habits
When the Galaxy Map first opens, the temptation is to chase the biggest visible node and send Kewa straight for it. That almost always backfires. The official Beginner Guide and the Story Mode pacing both assume that you will spend your early hours building out the Home Spaceship, settling your first Peeps, and getting one stable production loop running before any long travel. Travel is expensive in attention, not in resources, and arriving at a new sector before you can support an outpost there leaves you with a node you cannot use.
The Scout Ship, which carries José in the early game, is the right tool for the first few node visits. It investigates without committing you to a settlement, and it is the only way to read the contents of a strange-object or space-junk node before you choose a direction. The Settlement Ship, by contrast, is one-way: when it lands, you have committed to terraforming and building on that planet. The developer has explicitly stated that the Settlement Ship is not built by the player — it is delivered through story progression — so you will not find it on your build menu.
Mid-Game and Late-Game Map Habits
Once Kewa has a stable economy and your first Outpost is running, the map starts to pay back the time you invested in it. Two habits separate the players who report the second half of the game as "the best part" from those who bounce off it. The first is keeping an eye on Kewa's happiness: a single bad dialogue choice in a quiet stretch is rarely a problem, but a chain of them across a hot sector will start nudging Kewa toward the emergency-travel threshold. The second is reading the sector nodes before you commit: a barren planet and a trade station look similar at Galaxy Map zoom, but the cost of arriving at the wrong one is real, especially if you have spent the last hour routing a Settlement Ship there.
The macro map also interacts with the Beyond These Stars star systems guide in ways that the launch community is still mapping out. Travel is gated by research, and certain research nodes are themselves gated by Kewa dialogue, so the order in which you push the tech tree directly affects which sectors you can reach first. Treating the Galaxy Map as the strategic layer and the Solar System View as the tactical layer is the simplest mental model that holds up across both modes.
Frequently Asked Questions
How many sectors are in Beyond These Stars?
The developer has not published a fixed sector count, and Dev Blog #28 describes the Galaxy Map as "partially visible at first" with new sectors unlocking over time. The Neutral Sector is the only named sector in the public material, so any specific number you see elsewhere is community speculation rather than an official figure.
Is Beyond These Stars replayable after finishing Story Mode?
Yes, and the replayability is built into the map system. A fresh save resets the Galaxy Map to its partial state, Sandbox Mode lets you choose your starting resources and planets, and Kewa's temperature and happiness systems create run-specific late-game routes. Community players are already describing it as replayable by default.
Where are the best secrets in Beyond These Stars?
The most useful "secrets" to know about are officially documented but easy to miss: Kewa's happiness is a separate pool from per-Peep metrics, galaxy temperature pulls that happiness up or down, low Kewa happiness triggers emergency travel to a cold region, and biome health is sustained by tree planting and low pollution. Each of these is described in Dev Blog #29 but rarely surfaces in a first playthrough.
Do trade stations count as buildings in Beyond These Stars?
No. Dev Blog #28 lists trade stations as one of five possible node types on a Galaxy Map sector — alongside barren planets, space junk, strange objects, and aliens. The only player-built space structures are the Space Port, the Landing Pad, and the Spaceship Builder.
What is the difference between the Galaxy Map and the Solar System View?
The Galaxy Map is the macro layer showing named sectors and distant routes; it is partially visible at first and fills in as you progress. The Solar System View is the mid-zoom layer that unlocks after your first conversation with Kewa and shows the planets and nodes in Kewa's current system. Together they form the two cartography layers you use to plan travel.