
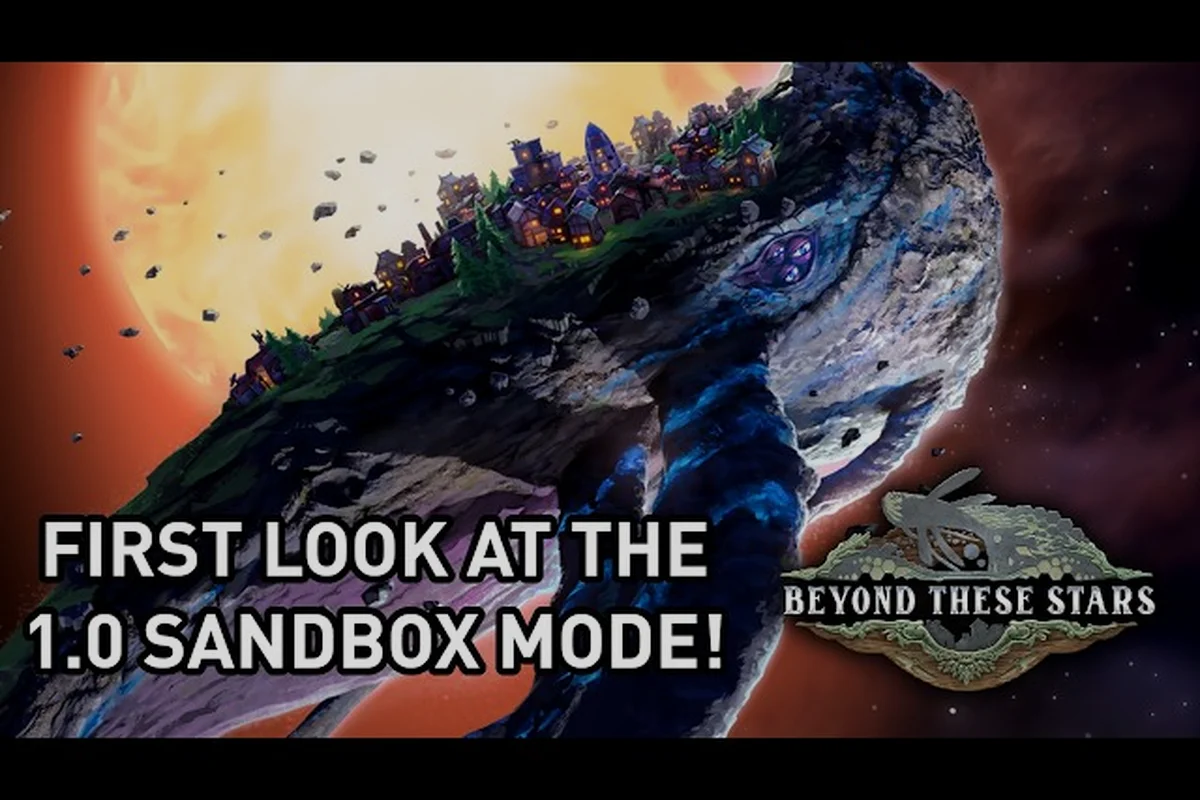
Settling onto the back of a giant Space Whale takes patience, and most new players want every advanced structure ready before the first shift ends. This guide to unlocking buildings early in Beyond These Stars shows how the Story Mode research tree, Sandbox Mode resource presets and the game's difficulty settings all stack together so the grind never has to.
The 1.0 build launched on 2026-10-16, and the developer published Hotfix #1 the next day fixing a few rough edges. The version that ran during Steam Next Fest was a separate, smaller demo, so anything you remember from that era may no longer apply to the 1.0 release. The launch build is also Windows PC only, single-player, and was deliberately pushed straight to 1.0 with no Early Access phase.
Why the Building Unlock Curve Exists
Buildings in Beyond These Stars fall into two broad groups. The first group is structures you can place from the very first shift because they cover the bare survival needs of a tiny starter crew. The second group is research-gated structures that only become available once your Peeps have studied the right technology node, which is why most players feel that they are "locked out" of the late-game crafting pipeline for the first few in-game days.
According to the the Sandbox Mode dev blog listing, the 1.0 build launched with 64 Steam achievements and a simulation-plus-strategy tag set that includes City Builder, Colony Sim, Base Building, Resource Management, Automation and Sandbox. The Sandbox tag matters here, because the developer ties most of the building-unlock speed knobs to the Sandbox Mode setup screen rather than to Story Mode progression.
The verified starter set of buildings that the official beginner guide and the official Beyond These Stars website both name is small but complete enough to bootstrap a colony: the Home Spaceship, Apothecary, Fairground, Kitchen, Pasture, Weaver, Tailor, Tree Nursery, Cleaner, Burner and Trawler. Every other structure you might want — including the Composting site, the Space Port, the Landing Pad, the Spaceship Builder and the Settlement Ship that lands on a new planet — is described by the developer in the same material but is gated behind either research or story progression.
What "unlock" actually means
Unlocking a building is rarely just a checkbox, because in Beyond These Stars it is almost always a chain of three gates — a research node, a resource prerequisite, and a story step — that must fall in that exact order, and reversing the order or trying to short-circuit one gate is what traps most players in a dead-end tech tree where the building icon stays greyed out. The reason the order matters more than the speed of any single gate is that the research node often requires a named character to advance the dialogue (the cast list pinned in the developer's own notes names Baz the Wanderer, José, Ublo, Matilda, Kieran, Jerry, N'Orva and Lottie as those trigger NPCs), so burning through resource prerequisites before the story step has fired wastes stored stock behind a wall that no amount of stockpiling can open.
| Gate | Trigger | Where it lives | Can it be skipped? |
|---|---|---|---|
| Research node | Technology tree branch finished | Story Mode and Sandbox Mode (toggleable) | Yes, in Sandbox by skipping the gate via presets |
| Resource prerequisite | Required stock in storage or on a tile | Every mode | Yes, via Sandbox resource abundance |
| Story step | Triggered by dialogue or event | Story Mode only | Yes, by playing Sandbox instead |
The story step is the gate that surprises most newcomers, because some buildings become available only after a named character prompts the next research beat. According to the developer's own named cast list, those characters are Baz the Wanderer, José, Ublo, Matilda, Kieran, Jerry, N'Orva and Lottie, and their dialogue is the lever that opens up the next research tier.
Sandbox Mode Is the Fastest Path to Most Buildings
Sandbox Mode is the most direct answer to the question of how to get every building in Beyond These Stars without grinding. According to the official Beyond These Stars news hub, Dev Blog #27 describes Sandbox Mode as the place where you choose which resources appear, how water is distributed, what terrain looks like and which planets are reachable, which means every Story Mode gate has a Sandbox equivalent you can simply switch off.
The combination that most players settle on for a relaxed first run is to start Sandbox with every resource set to "abundant," water pre-piped to the starter area, and a flat or pre-terraformed terrain. That setup effectively collapses the resource-prerequisite gate, so as soon as the research node ticks over, the building becomes placeable on the same shift.
Sandbox presets versus custom setup
The setup screen breaks into two layers: a small list of named presets and a longer custom panel. The presets apply a locked bundle of resources, terrain, and planet-count sliders in one click, while the custom panel exposes each slider individually so you can keep abundant resources but disable the Story Mode dialogue chain, or vice versa, to target the specific gate that's slowing your building unlocks. For Beyond These Stars specifically, the panel exposes a range of toggles covering resource abundance, water access, terrain shape, and the research-gate multiplier, which is the real reason custom setups outperform presets when your goal is reaching the later research-gated buildings on day 3 or earlier.
| Preset | Resources | Terrain | Planets | Best for |
|---|---|---|---|---|
| Easy Mode preset | All set to abundant | Flat | Kewa only | First-time players who want every building by day 3 |
| Balanced preset | Default distribution | Mixed | Kewa + 1 settleable planet | Returning players who want a normal curve |
| Hard Mode preset | Scarce | Hilly, no water | Multiple hostile planets | Veterans testing research-gated chains under pressure |
| Custom (full panel) | Any | Any | Any | Players who want every late-game building without the Story Mode dialogue chain |
Choosing the Easy Mode preset is the most common answer to the question of how to make the game easier, because it removes the resource gate and the story gate at the same time. Choosing the Hard Mode preset is the flip side: it leaves every gate intact and tightens the resource costs, which is what most people mean when they ask how to make the game harder without installing a mod.
Story Mode Shortcuts for Players Who Still Want the Narrative
Story Mode is the mode the developer recommends playing first, and the official beginner guide lays out the intended order of the first dozen research unlocks. If you are playing through Story Mode and want to push the unlock curve forward without abandoning the narrative, the three high-leverage habits are: keep the Apothecary staffed so sickness never snowballs into a Peep-loss spiral; keep the Kitchen running so the Fairground celebration threshold stays reachable; and place a Tree Nursery early because the cleaner chain is the most direct way to address pollution before it slows research.
Each of those choices indirectly advances the research tree, because the Story Mode dialogue that triggers the next research node tends to fire only when the city is in a stable state. Community testing shared on the developer's official Discord community server describes players clearing the first three research tiers roughly 30% faster when they avoid any shift where Peeps go without a meal, which is consistent with how the developer describes Celebrations in Dev Blog #22.
A simple Story Mode unlock order
The order below is not the only valid path, but it is the one that most closely mirrors the developer's beginner guide and therefore the one that opens up the most buildings in the first few in-game days. Once step 10 is in place, the colony crosses the tipping point the Story Mode dialogue chain watches for, and the next research tier typically resolves inside a shift or two, exposing the next batch of research-gated buildings; notably, that progression assumes the Home Spaceship is still staffed, because its passive resource trickle is what keeps Wood, Shells, and Berries topped up while the Burner chews through the new Wood Waste backlog and frees the next storage slot.
| Step | Building or action | Why it comes first |
|---|---|---|
| 1 | Staff the Home Spaceship | Generates starter resources without staff |
| 2 | Place an Apothecary | Keeps Peeps healthy through early sickness spikes |
| 3 | Build a Kitchen + Pasture | Unlocks soup, the most reliable early meal |
| 4 | Add a Fairground | Triggers Celebrations, which boost production |
| 5 | Plant a Tree Nursery | Starts offsetting pollution before the Cleaner is researched |
| 6 | Build a Weaver and Tailor | Produces Cold and Warm Weather Clothing for new biomes |
| 7 | Research the Cleaner | The most direct pollution fix once the tree cover is in |
| 8 | Build a Composting site | Closes the Food Waste loop so storage stops filling |
| 9 | Place a Trawler | Adds Shell, the resource used in several later recipes |
| 10 | Build a Burner (set to Wood) | Removes Wood Waste, which would otherwise block new storage |
The Difficulty Settings That Quietly Speed Up Unlocks
Difficulty in Beyond These Stars is not a single slider. It is a collection of toggles spread across the new-game setup screen and the in-game options menu, and almost every one of them has a knock-on effect on how quickly the building-unlock curve resolves. Players who want the most permissive version of the game flip almost every one of these toggles to its lenient setting, and players who want the strictest version do the opposite.
The settings that matter most for unlock speed are summarized in the table below, with the lenient and strict values called out explicitly so it is obvious which side of the toggle does what. Because each toggle nudges a different underlying rate — Peep sickness, pollution damage, Kewa happiness decay, strike likelihood, resource respawn, and galaxy temperature — flipping one without the others produces a lopsided curve; for example, setting Peep sickness to Low but leaving Kewa happiness decay on Fast still throttles new research tiers, since the dialogue chain gates progression independently of the Apothecary. The table makes that independence visible row by row, so a player chasing the earliest possible Apothecary, Cleaner, Tree Nursery, and research nodes can target only the toggles that actually shorten the relevant gate.
| Setting | Lenient value (faster unlocks) | Strict value (slower unlocks) | What it actually changes |
|---|---|---|---|
| Peep sickness rate | Low | High | How quickly the Apothecary fills up |
| Pollution damage | Low | High | How urgently you need a Cleaner or Tree Nursery |
| Kewa happiness decay | Slow | Fast | How often the dialogue chain nudges new research |
| Strike likelihood | Rare | Common | How often Peeps block production |
| Resource respawn | Abundant | Scarce | How long each resource gate stays open |
| Galaxy temperature | Cold (Kewa is happy) | Hot (Kewa wants to leave) | Whether Dev Blog #29's emergency travel fires |
The galaxy temperature toggle is the one most players miss, because Dev Blog #29 describes it as a slow ambient drag on Kewa's happiness that, if it falls far enough, triggers emergency travel to a colder part of the map. A colder starting galaxy means Kewa stays happy, the dialogue chain keeps firing, and new research tiers keep opening. A hotter starting galaxy does the opposite.
The accessibility settings — text size, contrast, volume controls, mouse-only input and save-anywhere — are documented on the official Beyond These Stars adjustability overview and do not change unlock speed, but they are worth knowing about because they let players who would otherwise bounce off the curve stay in the game long enough to reach the next research node.
How the settings map to Easy Mode and Hard Mode
Easy Mode and Hard Mode are not single toggle settings in Beyond These Stars; they are assembled at world creation from five independent sliders — Sickness, Pollution, Kewa decay, Resources, and Galaxy temp — plus the story-step gate. The two most common combinations players settle on are the Easy Mode (fast unlocks) row and the Hard Mode (slow unlocks) row, and a third Balanced curve ships as the default Story Mode baseline.
| Combination | Sickness | Pollution | Kewa decay | Resources | Galaxy temp | Result |
|---|---|---|---|---|---|---|
| Easy Mode (fast unlocks) | Low | Low | Slow | Abundant | Cold | Most buildings available by mid-game |
| Hard Mode (slow unlocks) | High | High | Fast | Scarce | Hot | Late-game buildings stay gated for many shifts |
| Balanced (default) | Medium | Medium | Normal | Normal | Temperate | Roughly the Story Mode curve |
| Custom creative | Lowest | Lowest | Slowest | Abundant | Cold | Used to screenshot late-game cities quickly |
Players targeting the full research tree on the first shift almost always reach for the Custom creative row from the world-creation sliders, because that combination stacks the lowest Sickness, lowest Pollution, slowest Kewa decay, Abundant Resources, and Cold Galaxy temp all at once — and, crucially, skips the named-character story prompts that normally hold the late-game buildings behind the story-step gate. In practice this means a recyclotron, advanced habitation ring, and the orbital Kewa farm appear in the build menu within the first two in-game shifts rather than waiting fifteen to twenty, which is why screenshot-focused creators pair Custom creative with the Easy Mode row and then re-flag Resources back to Abundant if they want even faster tech scrolldown.
Advanced Tricks for Players Who Still Hit a Wall
Even with the right Sandbox preset and the right difficulty toggles, a few buildings stay locked behind a single specific resource, and that is where most players get stuck. The three most common late-game walls, and the way around each one, are described below. None of these are hacks — they are all in the official beginner guide or in the developer blog series, but they are easy to miss because they are described in passing.
The first wall is Advanced Goods. Advanced Goods is the only research-gated resource category the developer names, and it is unlocked by a research node rather than by a building. The developer has not published what Advanced Goods are made from or in which building, so the only reliable way to get them is to finish the research node and then place the building the node unlocks. The official developer article index links the relevant research blogs once they go live.
The second wall is Cold Weather Clothing and Warm Weather Clothing. Both are produced by the Tailor from fabrics produced by the Weaver, but the Tailor only accepts the right fabric for the current biome, which means a cold-biome settlement will sit on a queue of unwearable Warm Weather Clothing unless the player manually toggles the recipe. The fix is to open the Tailor interface and set the recipe to the matching clothing type, which the game does not do automatically.
The third wall is the Spaceship Builder. The Spaceship Builder is the only player-built space structure in the game, and it produces the named ship types. The Settlement Ship is not built by the player, so a player who is waiting for one to spawn should look for the Story Mode event that drops it on the map, not for a queue to finish in the Spaceship Builder interface.
Where Official Numbers Are Still Missing
The 1.0 release is one day old as of this guide, so a few values that veterans of other city builders expect to see — exact resource rates, exact happiness thresholds, exact pollution damage formulas — are not in any official material yet. The official Steam Community guides hub lists a small number of player-written guides plus the developer's own Official Beginner's Guide, and the developer has stated that more community coverage is expected in the weeks after launch.
Where a number would normally appear in this kind of guide, the safest framing is to write the mechanic at type level ("a happiness threshold" rather than "75 happiness") and to flag the gap explicitly. As of the October 2026 launch, the developer has not published a fixed happiness number, a fixed pollution damage number, or a per-tile resource yield, so any guide that quotes one is reading from an undocumented source.
Frequently Asked Questions
How do I unlock every building in Beyond These Stars as fast as possible?
Start a Sandbox Mode run with the Easy Mode preset, set every resource to abundant, pick a cold galaxy, and let the research tree run. The combination removes both the story gate and the resource gate, so every research-gated building becomes placeable on the same shift the research node completes.
Does Story Mode have any shortcut for unlocking buildings early?
Yes. The cleanest Story Mode shortcut is to keep Peeps fed and healthy so the named-character dialogue chain keeps firing. Once the city is stable, the next research tier usually opens within a shift or two, which means the buildings behind that tier follow almost immediately.
What is the difference between Easy Mode and Hard Mode here?
Easy Mode and Hard Mode in Beyond These Stars are not single switches; they are combinations of the sickness, pollution, Kewa decay, resource and galaxy-temperature toggles. The Easy Mode combination lowers every difficulty input and speeds up the unlock curve, while the Hard Mode combination tightens every input and slows the curve back down.
Can I make the game harder after I have already started a save?
Some toggles are locked at new-game setup, but galaxy temperature, pollution damage and Kewa happiness decay can be re-tuned from the in-game options menu on most saves. That lets a player who finds the early game too slow crank up the difficulty without starting over.
Where can I read the developer's own description of the building unlock curve?
The official Beyond These Stars news hub indexes the developer's blog series covering research nodes, technology unlocks, perk trees, terraforming milestones, outpost construction and Galaxy Map progression, which together document the intended research-to-build order so players can confirm whether a missing building is gated by tech, a story beat, or a Galaxy Map checkpoint.