
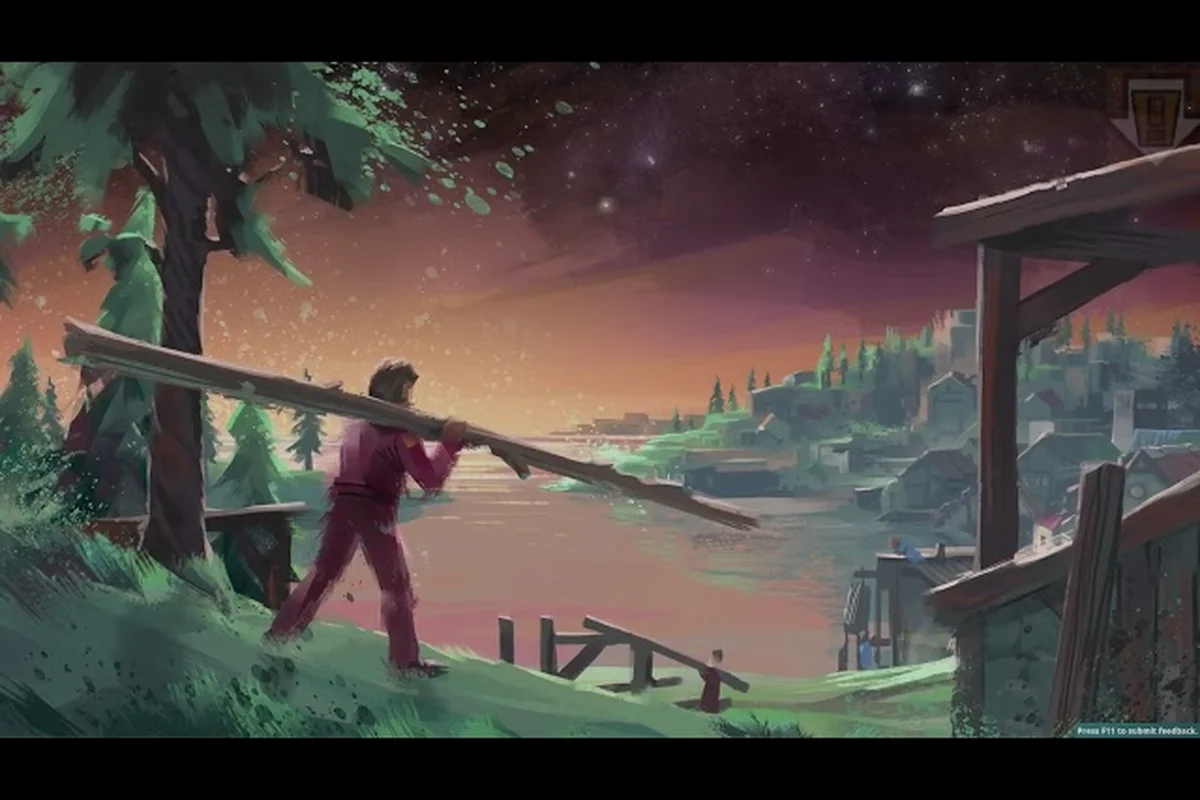
Most new city builders in Beyond These Stars expect a river to be their lifeline, and that assumption collapses the moment a dry roll appears on screen. Starting a run without a single river tile is one of the most common sandbox shocks in the game, and the official Steam store page confirms that players can pick from multiple terrain types when setting up a new settlement, which means a riverless start is not a glitch — it is a deliberate choice you can prepare for.
Why a Riverless Start Changes Everything in Beyond These Stars
Water is the backbone of any early settlement in Beyond These Stars. The Home Spaceship slowly produces starter resources, but those first Peeps still need Water, Food, and basic comfort from day one, and a river normally feeds all three. When the the Sandbox Mode dev blog describes Sandbox Mode as a setting where you choose your own water distribution, terrain, and planet options, it is a direct signal that some of those combinations will remove the safety net of a guaranteed river.
A riverless start does not just slow you down — it reshapes your layout. Adjacency bonuses matter more, because the Cleaner's Water-plus-Chemicals mix becomes expensive when Water is hauled in by ship rather than piped from a riverbank. Terraforming is no longer a side activity; it is the entire early game, because digging a canal is the only in-game way to bring flowing Water onto a tile that was born dry. The developer covered this design intent directly in Dev Blog #29 on the official developer site, which is where the studio explains that rivers, forests, and clean biome tiles are the tools that keep Kewa healthy.
The Real Cost of Skipping a River
When you boot a riverless map, three pressures hit your Peeps at once. First, Water production is bounded by whatever you can pipe, store, or import, instead of a passive river edge that you can always build against. Second, terraforming becomes a labor cost because every canal you dig is shift time that is not spent on food or clothing. Third, Pollution cleanup has fewer natural outlets, since the biome absorbs damage more slowly without a flowing river to dilute runoff from Burners and early industry. Players who read Dev Blog #22 on Celebrations and Dev Blog #25 on Sickness will recognize that those two systems are tightly coupled to a happiness threshold, and a dry start pushes Peeps closer to the sickness edge during the first few cycles.
The table below summarizes the trade-off between a normal river start and a deliberately dry start, so you can decide whether the challenge is worth the unusual sandbox setup.
| Pressure Point | River Start | Riverless Start |
|---|---|---|
| Early Water access | Passive via adjacent river tiles | Must be hauled, stored, or imported |
| Terraforming priority | Optional cosmetic layer | Required to unlock canal-fed tiles |
| Pollution dilution | River helps absorb runoff | Cleaners and tree planting carry the load |
| Happiness margin | Comfortable early | Tight; sickness can spike at low energy |
| Optimal playstyle | Organic, organic growth | Planned grid, water-first layout |
Beyond These Stars Terrain Options Explained
The Sandbox Mode setup screen exposes several terrain options, and Dev Blog #27 on the official developer articles hub is the canonical reference for what each toggle actually does. The game does not publish a numeric difficulty rating per terrain, but it does describe them in terms of generation behavior: how flat the surface is, how many hills obstruct placement, how dense forests start, and how often rivers appear. That framing is enough to plan a build, because the mechanic that changes between settings is placement friction, not resource output per se.
Flat Terrain vs Hilly Terrain
The two most common settings players ask about are flat terrain and hilly terrain, and the difference between them is purely about how easy it is to place large buildings. On flat terrain, large structures like the Kitchen, Tailor, and Fairground drop down without contour checks, and your Peeps path along straight lines. On hilly terrain, the same buildings need flat anchor tiles, which means you will spend the first hour of the run demolishing or terracing before you can even place a Pasture.
This is where the river question ties back to terrain. A river is just a low contour line that the generator draws across your plate, and the same generator that gives you hilly terrain will more often give you curved rivers, while flat terrain tends to produce either long straight rivers or none at all. That is why a flat, riverless start is the hardest combination to absorb — you get zero pathfinding friction but also zero passive water, while a hilly, riverless start gives you elevation to channel Water downhill into your own hand-dug canal.
| Terrain Setting | Building Placement | Pathing | River Tendency |
|---|---|---|---|
| Flat terrain | Easy, no contour checks | Straight, fast | Long rivers or none |
| Hilly terrain | Requires flat anchor tiles | Curved, slightly slower | Curved rivers, frequent |
| Mixed default | Mostly flat with clusters | Balanced | Moderate river count |
For a riverless start, the practical takeaway is simple: pick flat terrain if you value build speed, pick hilly terrain if you want gravity to help route your first canal, and never assume a hilly map will solve the Water problem for you, because a hilly map can still roll without a river if the seed decides otherwise.
What the Other Planet Settings Actually Do
Beyond terrain, the sandbox setup exposes several planet settings that quietly decide how forgiving your riverless run will be. The first is water distribution, which the developer describes as the toggle that controls how Water is placed across the galaxy and on each plate. If you set it to a low or sparse value, expect a dry plate. The second is forest density, which affects how many trees you can plant early and therefore how much Pollution your biome can absorb. The third is starting resource mix, which controls whether your first stockpile leans toward Water or toward raw materials.
The official Beginner Guide on the Steam Community guides hub repeats that terraforming, technology, and perks are all unlocked at your own pace in Sandbox Mode, so the planet settings you choose at the start are the only environmental variables you control without spending research.
How Many Planets Can You Actually Settle in Beyond These Stars
A riverless start often pushes players to look for water off-plate, which is where the planet count question becomes important. The Galaxy Map, described in Dev Blog #28 on the developer's articles hub, is partially visible at first and unlocks node by node over time. Nodes on that map can hold barren planets, space junk, strange objects, trade stations, and aliens, and any barren planet is a candidate for an Outpost that supplements what Kewa's back cannot supply.
The developer has not published a hard cap on the number of planets you can settle, and the Settlement Ship mechanic is described only as a ship that lands on a new planet rather than something you build yourself. That is a deliberate design point: planets come to you, not the other way around. On the developer's site, the official Beyond These Stars game page presents the experience as constructing a city atop the sentient Space Whale Kewa, framing Outposts and settleable planets as a means of expanding the city rather than pursuing freeform galactic conquest.
Outposts, Space Ports, and the Landing Pad Rule
A common mistake is to assume that any ship can land anywhere, but the developer's own material is clear: Space Ships cannot land on Kewa without a Landing Pad. The Space Port itself can hold up to four Landing Pads, and each pad takes one ship at a time, which is the only way to move Peeps and resources between Kewa and an Outpost. The Neutral Sector, named in Dev Blog #28, holds a moderate-climate planet with chickens and cows, and it is the kind of node a riverless run should aim for early, because it offers a food source that does not need a river at all.
| Galaxy Node Type | What It Provides | Useful for a Riverless Start? |
|---|---|---|
| Barren planet | Settleable surface for an Outpost | High — new land for canals |
| Trade station | Resources from off-plate | High — Water trade possible |
| Space junk | Salvage and components | Medium — useful for tech |
| Strange objects | Story or perk triggers | Low — flavor, not Water |
| Aliens | Encounter events | Low — flavor, not Water |
The honest answer to "how many planets" is therefore "as many as your scout and ship network can reach," and the developer has not committed to a fixed ceiling. What they have committed to is the fact that every new planet is a fresh chance to roll terrain that does include a river, which is the cleanest long-term answer to a riverless Kewa start.
Early Water Strategies When There Is No River
Once you accept the dry plate, the question becomes how to keep Peeps alive for the first ten shifts without a river. There are no published Water production numbers in the official material, so the strategy below stays at the system level rather than asserting recipes the developer has not released. Every step here is something a player can verify in-game against the verified resources list — Water, Chemicals, Wood, and the buildings named in the official buildings list.
Step 1: Lock Down Your First Water Source
The first decision is whether to rely on ship-imported Water, hauled Water from an Outpost, or a hand-dug canal. Ship-imported Water is the slowest, because Space Port traffic competes with the Settlement Ship and the Scout Ship for Landing Pad slots. Outpost Water requires you to find and settle a planet with a river first, which is a chicken-and-egg problem on a riverless Kewa start. The most reliable early route is to dig a canal toward any natural depression, even a tiny one, because the terraforming system treats any connected water tile as a river edge once it flows.
Step 2: Place the Water-Sensitive Buildings First
Once Water is moving, build the buildings that lose efficiency the most when Water is short. The Kitchen, the Apothecary, and the Cleaner all sit near the top of that list. The Apothecary is the only verified way to heal sick Peeps, and Dev Blog #25 ties sickness to the start of a shift when energy is low, which means an under-watered Peep population is one bad shift away from an outbreak. Place the Apothecary close to the Water line so its adjacency bonus is real, not theoretical.
Step 3: Use the Tree Nursery to Absorb Pollution
Without a river to dilute runoff, Pollution becomes the second biggest threat after dehydration. The Tree Nursery is the only verified building that addresses Pollution indirectly, while the Cleaner addresses it directly by mixing Water and Chemicals. Plant Tree Nurseries upwind of your industry cluster, and put a Cleaner between the Burner and any housing block, so Pollution has two layers of defense before it reaches Kewa's biome.
Step 4: Watch Kewa's Temperature and Happiness
Dev Blog #29 is explicit that a hot galaxy drags Kewa's happiness down, and if that happiness falls far enough, Kewa starts emergency travel to somewhere cold. A riverless plate is already under happiness pressure, so a hot galaxy can compound the problem. Keep dialogue choices with Kewa biased toward calm, low-stress options, and treat the temperature setting as a real variable in your sandbox setup, not a flavor toggle.
| Early Priority | Action | Why It Matters for a Dry Start |
|---|---|---|
| Hour 1 | Survey and mark the lowest tile | Sets the path for your first canal |
| Hour 2 | Place Home Spaceship, Apothecary, Kitchen | Locks in core survival chain |
| Hour 3 | Plant Tree Nursery upwind | Prevents Pollution from snowballing |
| Hour 4 | Send Scout Ship to a nearby node | Begins the search for an Outpost planet |
| Hour 5 | Dig the first canal segment | First real Water flow on the plate |
Sandbox vs Story Mode Setup Choices for a Dry Start
The developer's own Official Beginner Guide on the Steam Community guides hub recommends playing Story Mode first, but it does not forbid Sandbox experimentation, and Dev Blog #27 confirms that Sandbox is the mode where every planet setting is exposed. A riverless start is fundamentally a Sandbox decision, because Story Mode has its own hand-tuned opening that includes a guaranteed river. Choosing Sandbox to skip a river is a deliberate trade — you give up the curated Story opening in exchange for full control over terrain, planet settings, and how many planets you intend to settle.
Why a Flat, Dry Sandbox Start Is the Hardest Combo
If you combine flat terrain with sparse water distribution and a hot galaxy, you get the most punishing setup the sandbox menu can produce. Flat terrain removes the gravity assist of hills, sparse water removes the chance of a passive river, and a hot galaxy removes Kewa's happiness margin. The only thing you gain is placement speed, which is meaningless if your Peeps are too sick or thirsty to staff the buildings. Players who deliberately take this combination are usually testing themselves before they settle into a normal Sandbox run.
Why a Hilly, Dry Sandbox Start Is More Forgiving
A hilly map without a river is paradoxically easier, because elevation gives you a place to dig a canal that you control end to end. You can route Water exactly where you want it, instead of bending your city around whatever path the generator gave you. The trade-off is slower early placement, because you will spend the first hour flattening anchor tiles for the Spaceship Builder and the first Landing Pad. For a player who wants the riverless challenge without the full chaos, hilly terrain is the better sandbox choice.
| Sandbox Setup | Difficulty Feel | Best For |
|---|---|---|
| Flat + rivers + mild galaxy | Easiest | First Sandbox run |
| Flat + no river + mild galaxy | Hard | Placement-speed challenge |
| Hilly + rivers + mild galaxy | Medium | Terraforming practice |
| Hilly + no river + hot galaxy | Hardest | Late-game mastery test |
Beyond These Stars Unlock All Buildings: What Sandbox Mode Actually Lets You Skip
The keyword "beyond these stars unlock all buildings" reflects a real sandbox impulse: players want to skip the tech climb and go straight to the Spaceship Builder, the Landing Pad, the Space Port, and the advanced production chain. The developer has published Advanced Goods as a research category, but they have not published the recipe or the building that produces them, so any claim of a specific unlock order would be invention. What is verifiable is that the research tree gates Advanced Goods, and that Sandbox Mode lets you tune how fast research resolves by changing the planet and resource settings at the start.
For a riverless run, the practical reading of "unlock all buildings" is to plan a layout that already assumes the late-game buildings will appear, even if you cannot place them yet. Reserve flat tiles for the Spaceship Builder, reserve a coast for a future Space Port, and reserve an Outpost slot on a hilly planet so you have a second site for canals when your research finally unlocks the advanced terraforming perks. ce them yet. Reserve flat tiles for the Spaceship Builder, reserve a coast for a future Space Port, and reserve an Outpost slot on a hilly planet so you have a second site for canals when your research finally unlocks the advanced terraforming perks, and if you want a grounded look at how Story Mode and Sandbox diverge in pacing and freedom before locking in those long-term plans, our Beyond These Stars Story Mode Vs Sandbox breakdown lays out exactly which reservations carry over and which ones quietly reset between runs.
Tech Order for a Riverless Start
Because the developer has not published a numbered tech tree, the only safe advice is type-level: research the perks that increase Water efficiency, reduce Pollution, and improve terraforming speed before researching perks that increase raw output. A dry plate punishes output-per-shift more than it punishes efficiency, because the bottleneck is not how much your Kitchen cooks, but how much Water it can drink.
| Research Priority | Type of Perk | Reason on a Dry Start |
|---|---|---|
| 1st | Water efficiency | Less Water wasted per meal |
| 2nd | Pollution reduction | Biome margin without a river |
| 3rd | Terraforming speed | Faster canal growth |
| 4th | Happiness threshold | Buffer against sickness |
| 5th | Advanced Goods output | Only after Water is stable |
Frequently Asked Questions
Can I really start a Beyond These Stars run with no river at all?
Yes. Sandbox Mode in Beyond These Stars exposes planet settings that include water distribution, and setting it to a sparse value can produce a plate with no river tiles. The mechanic is described in Dev Blog #27, and the trade-off is that you must terraform your own canal to bring Water onto the plate.
What is the best terrain for a riverless start in Beyond These Stars?
Hilly terrain is the most forgiving riverless setting, because elevation lets you route your first canal exactly where you want it. Flat terrain is faster to build on but does not give you gravity to work with, so flat-and-dry is the hardest combination the sandbox menu can produce.
How many planets can I settle in Beyond These Stars?
The developer has not published a hard cap on settleable planets, and the Settlement Ship mechanic is described only as a ship that lands on a new planet rather than something you build yourself. In practice, the limit is how many nodes your Scout Ship and Space Port network can reach on the Galaxy Map, which unlocks over time.
Does Sandbox Mode let me unlock all buildings faster in Beyond These Stars?
Sandbox Mode lets you tune planet and resource settings at the start, but the developer has not published a sandbox-only tech shortcut, and Advanced Goods remain a research-gated category. The most a sandbox player can do is prioritize Water, Pollution, and terraforming perks so the late-game buildings arrive on a stable base.
Where can I read the developer's own advice for a dry start in Beyond These Stars?
The Official Beginner's Guide on the Steam Community guides hub is the developer's own reference for terraforming, technology, and perks, and it is the cleanest starting point for any player who wants to read the studio's framing before they start a riverless run.