
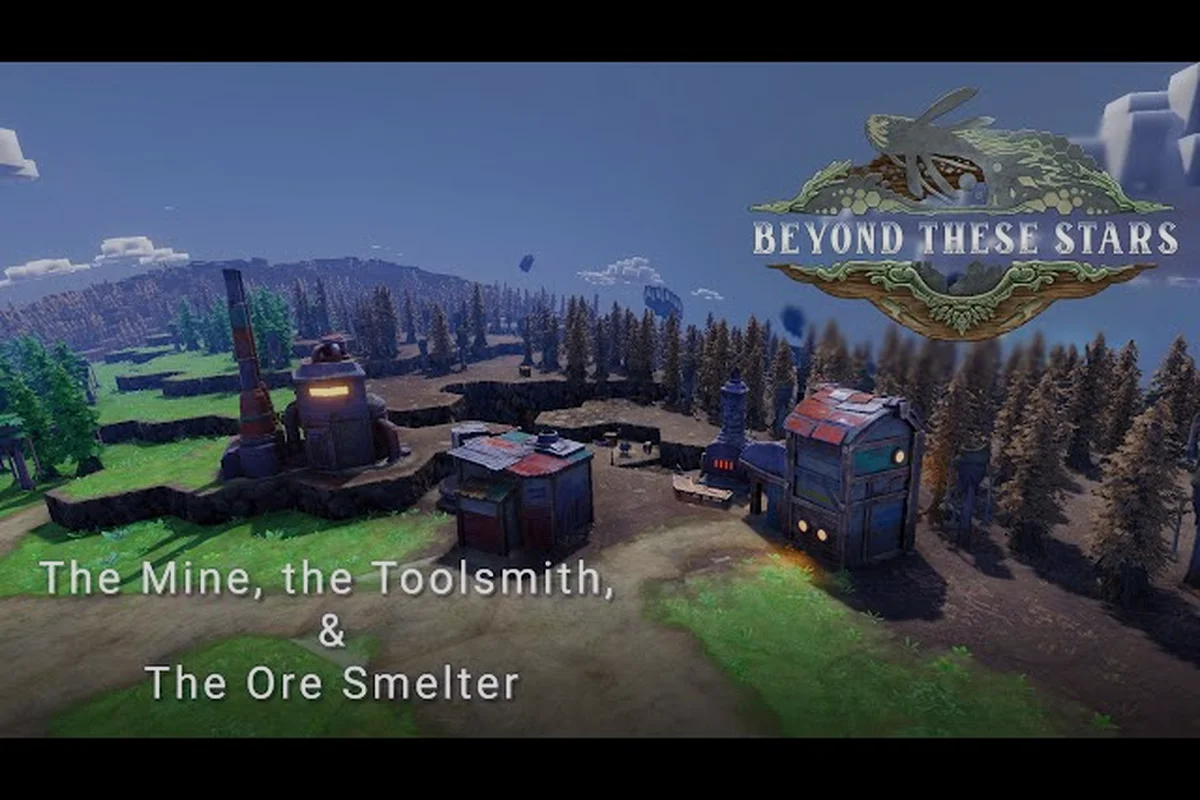
Beyond These Stars locks its most valuable output, the Advanced Goods resource, behind research nodes and a stack of precursor industries, so learning the unlock order is the difference between a thriving colony and a stalled one. This production-chains guide walks through the full path from a freshly landed Settlement Ship to a colony steadily producing Advanced Goods, while flagging the bottleneck patterns that show up at every stage. For the primary source, see the official Discord.
Understanding the production loop matters because Advanced Goods feed into late-game clothing variants, technology, and the broader economy that keeps Kewa happy on long voyages. If the chain stalls, Peeps run short on warm-weather gear, sickness climbs, and your Settlement Ship stays grounded. By the time you finish this article, you will know which buildings produce the prerequisites, where your mining infrastructure needs to grow, and how to fix bottlenecks before they cascade.
What Advanced Goods Actually Are and Why the Research Gate Exists
Advanced Goods sit at the top of Beyond These Stars' crafting hierarchy, and the developer at Balancing Monkey Games has not published an exact recipe sheet or production rate, only the type-level fact that the item is unlocked through the research system and built from previously processed resources. That single sentence carries a lot of weight: it means the resource cannot be hand-crafted, cannot be bought from an outpost at the start, and cannot be mined directly.
Where the Resource Fits in the Chain
The wider production chain feeds Advanced Goods through two main tributaries. The first is the food-to-clothing tributary: Pasture produces Wool on planets with sheep, the Weaver converts raw materials into fabrics, and the Tailor then turns those fabrics into Cold Weather Clothing and Warm Weather Clothing. The second is the heavy-industry tributary: Wood becomes building material, Wood Waste becomes compost, and processed minerals feed back into the technology tree that unlocks Advanced Goods. Both tributaries must keep flowing, which is why bottlenecks in any one node drag the whole chain.
| Tributary | Key Buildings | Output | Feeds Advanced Goods? |
|---|---|---|---|
| Food & clothing | Pasture, Weaver, Tailor | Wool, Cotton, Cold/Warm Clothing | Indirectly (via Peep wellbeing) |
| Heavy industry | Kitchen, Burner, Composting | Meals, ash, soil amendments | Directly (via research) |
| Resource extraction | Mining-style deposits, Trawler | Shell, minerals, top soil | Directly (via research) |
| Top tier | Research-gated production building | Advanced Goods | Yes (final product) |
Why the Research Gate Matters
Because the final building is research-gated, you cannot bypass the chain by stockpiling raw materials. The order in which you unlock research nodes determines when Advanced Goods start moving, and the developer has not published the exact node list. The safest play is to treat the tech tree as a layered queue: unlock food and clothing first, because happy Peeps work longer shifts, then push into the heavy-industry branch, and finally spend the last research points on the production building that emits Advanced Goods. Players who rush the final research tier without prerequisite infrastructure typically see the new building sit idle for several in-game shifts while inputs queue up.
The Mining and Extraction Layer Behind Advanced Goods
Before you can think about Advanced Goods, you need a steady supply of raw inputs, and most of those come from resource deposits scattered across Kewa's back. The developer has confirmed Wood, Wood Waste, Water, Chemicals, Wool, Cotton seeds, Shell, top soil, potatoes, and the like, but the specific mining-tier numbers, deposit sizes, and regeneration rates have not been published. That makes layout and infrastructure the variables you can actually control.
Setting Up Mining Infrastructure on Kewa
Mining infrastructure is whatever you build on top of a deposit to extract it: a Trawler for Shell, a mining-style building for minerals, a Burner set to consume Wood, or simply a layout that lets Peeps reach a deposit quickly. The key insight is that adjacency bonuses affect efficiency and travel time, so placing a processing building too far from its input source burns worker hours on walking. The Beyond These Stars production chains overview covers the general layout principles, but for Advanced Goods specifically, cluster your mining building next to its processing neighbour and keep the path free of decorations that block Peep movement.
| Infrastructure Choice | Best For | Trade-Off |
|---|---|---|
| Trawler on Shell deposits | Late-game water and crafting needs | Only works in coastal tiles; the developer has not published a rate |
| Burner on Wood | Quick ash and Wood Waste | Consumes a renewable but slow-growing resource |
| Direct mining building | Mineral and ore extraction | Range and capacity numbers are unpublished |
| Outpost on a nearby planet | Supplement what Kewa cannot supply | Requires Space Port, Landing Pad, and a working ship slot |
Where to Find Resource Deposits
Resource deposits are baked into each planet's terrain, and the Galaxy Map reveals them gradually as you explore. Dev Blog #28 describes a partially visible map that unlocks nodes over time, with each node hiding barren planets, space junk, strange objects, trade stations, and aliens. The Neutral Sector, also named in Dev Blog #28, holds a moderate-climate planet with chickens and cows, which is useful for food chains but not for Advanced Goods directly. Treat every freshly revealed node as a candidate for an outpost: a small secondary settlement that supplements what Kewa cannot supply, accessible through a Space Port and a Landing Pad, because ships shuttle between them and a single Space Port can host up to four Landing Pads.
The Production Chain Step by Step
Once raw inputs flow, the next challenge is wiring them through the buildings that produce the precursors to Advanced Goods. The chain is multi-stage, and each stage is a candidate for stalling, so a step-by-step walkthrough keeps the order explicit.
Stage 1: Securing Raw Inputs
Start by securing Wood and Water, because they are the inputs for almost every other building. Plant a Tree Nursery to regenerate Wood, dig canals for Water adjacency, and place a Cleaner to manage Pollution before it drags down the biome. The Beyond These Stars resources guide has the full list, but the production rule of thumb is simple: if a building's icon shows a brown or blue droplet, the colony cannot run without it.
-
Build a Tree Nursery on every forested tile to keep Wood replenishing.
-
Dig canals between Water sources and processing buildings to trigger adjacency bonuses.
-
Place a Cleaner near heavy industry to mix Water and Chemicals.
-
Reserve a Burner for Wood Waste, since Wood Waste is a real resource and a useful compost ingredient.
Stage 2: Processing Raw Inputs
With raw inputs secured, move to the processing layer. The Kitchen turns ingredients into meals, the Composting building turns food scraps into soil amendments, the Weaver spins raw materials into fabrics, and the Tailor finishes Cold Weather Clothing and Warm Weather Clothing. A common mistake is to under-build the Weaver, because fabrics are needed for both clothing lines, and a single Weaver cannot feed a Tailor that is also producing Cold Weather Clothing and Warm Weather Clothing in parallel. Players in early access have reported through community testing that two or three Weavers can keep a single Tailor supplied once shifts are running smoothly.
| Building | Input | Output | Common Bottleneck |
|---|---|---|---|
| Kitchen | Ingredients (potatoes, soup base) | Meals | Starvation if Peeps eat more than the kitchen cooks |
| Composting | Food Waste | Soil amendments | Overflow if no field accepts the output |
| Weaver | Raw fabrics | Woven fabrics | Idle if Tailor is undersupplied with raw inputs |
| Tailor | Woven fabrics | Cold/Warm Clothing | Slow if Peeps are sick or striking |
Stage 3: Unlocking the Advanced Production Building
The final stage is research. Open the technology tree and look for the production branch that ends in the building that emits Advanced Goods. The exact unlock cost and tier number are not published, but the developer has confirmed that Advanced Goods are unlocked by research, so plan your perks around reaching that node. The Beyond These Stars crafting recipes list tracks the inputs for every known recipe, which helps you plan which precursor buildings to over-build.
How to Fix Bottlenecks Before They Cascade
Bottlenecks in Beyond These Stars are usually a sign that one building is slower than its neighbour, and the fix depends on whether the bottleneck is upstream, downstream, or inside the building itself. The game does not surface a bottleneck diagnostic on screen, so diagnosing one is a matter of reading Peep behaviour and watching resource stacks.
Reading the Signs of a Bottleneck
A bottleneck shows up in three ways: an input pile that never empties, a Peep who walks to a building and back without producing, or a happiness dip that starts a strike. Dev Blog #23 notes that a first strike lasts three shifts and gives you a goal tied to the root cause, which is the game telling you outright that something is wrong. Watch the strikes first, because a striking Peep holds a sign and blocks other Peeps, slowing them down, and that slowdown cascades into every other building the Peep would have visited.
| Symptom | Likely Cause | First Fix |
|---|---|---|
| Input pile grows | Downstream building is too slow or understaffed | Add shifts, workers, or another downstream building |
| Output pile grows | Downstream consumer is missing or idle | Build the next-stage building or route the output |
| Peeps idle near building | Building is out of inputs | Check upstream supply, not the building itself |
| Strike breaks out | Root cause is unmet Peep need | Treat the underlying need before adding shifts |
Upgrading Production Efficiency
Production efficiency in Beyond These Stars is a function of layout, shifts, and Peep happiness. The developer has not published a numeric efficiency formula, but the type-level mechanics are clear. Adjacency bonuses come from placing related buildings next to each other, celebrations grant production, movement, and sickness bonuses when enough Peeps in one location pass a high happiness threshold, and sickness chance rises at the start of a shift as energy falls, so keeping Peeps fed, warm, and dry is the single biggest efficiency multiplier. The Beyond These Stars throughput guide covers shift assignment in detail, and the rule of thumb is to assign Peeps to the building where their bottleneck is most visible rather than spreading them evenly.
Managing the Galaxy Around Advanced Goods
Advanced Goods do not exist in a vacuum, and the broader galaxy imposes constraints that can stall production even when the local chain is perfect. Kewa is a sentient Space Whale who carries your city across the galaxy, and Kewa's happiness affects travel decisions. Dev Blog #29 notes that a hot galaxy drags Kewa's happiness down, and if it falls far enough, Kewa starts emergency travel somewhere cold. That kind of detour can strand outposts and break supply lines, so production planning has to account for the route ahead.
Outposts as a Production Safety Net
Outposts are the safety valve for Advanced Goods. By landing a Settlement Ship on a nearby planet and building a small production cluster there, you supplement what Kewa cannot supply, and the Space Port infrastructure means ships shuttle between them automatically. The player does not build the Settlement Ship, the game delivers it, but the player chooses the planet and lays out the production buildings. A practical pattern is to keep one outpost focused on mining, another on food, and a third on the precursor buildings that feed Advanced Goods, then route the outputs through the Space Port back to the main colony. The Beyond These Stars woodcutter and sawmill guide covers the wood-side of outpost planning if you want a worked example.
Protecting Production During Strikes and Sickness
Strikes and sickness both cut into production efficiency, and the developer has confirmed that sickness chance rises at the start of a shift as energy falls. The Apothecary heals sick Peeps, and Dev Blog #25 noted that the Apothecary texture was pending at the time, but the building is in the verified list and works. The Fairground is where Peeps hold celebrations, per Dev Blog #22, and those celebrations grant production bonuses that can offset a sick worker or two. A colony that runs two celebrations per in-game day typically keeps productivity high even during a sickness spike, which is why the Fairground is often considered an efficiency building rather than a luxury.
Frequently Asked Questions
How do you unlock the building that produces Advanced Goods?
Advanced Goods are unlocked through the research system, and the developer has not published the exact tech-tree node. The safest route is to push through the food and clothing research first, then the heavy-industry research, then the final production node that emits Advanced Goods. Plan your perks to reach that final node as early as your precursor infrastructure allows.
What raw materials do Advanced Goods need?
The exact recipe has not been published, but Advanced Goods are built from previously processed resources, so a working colony typically needs fabrics from the Weaver, meals from the Kitchen, soil amendments from Composting, and a steady stream of Wood, Water, and Chemicals. Mining and Trawler outputs also feed the chain in most playthroughs.
How do you fix a bottleneck in Beyond These Stars production efficiency?
Watch the input pile and the Peep behaviour at the slowest building. If inputs pile up, the downstream building is understaffed or under-built. If Peeps walk to a building and back without producing, the building is out of inputs and the upstream supply needs fixing. A strike that breaks out is the game flagging the root cause, so treat the unmet need before adding shifts.
Can outposts help with Advanced Goods production?
Yes, because outposts on nearby planets can host mining, food, and precursor buildings, and a Space Port with up to four Landing Pads shuttles ships between them. The Settlement Ship is delivered by the game rather than built by the player, but the player chooses the planet and the production layout, which lets a well-planned outpost absorb bottlenecks that the main colony cannot.
Where can I find mining deposits for the Advanced Goods chain?
Resource deposits appear on Kewa's back and on the planets revealed through the Galaxy Map, which Dev Blog #28 describes as partially visible at first and unlocking nodes over time. Barren planets, space junk, strange objects, trade stations, and aliens are all possible node contents, and a Scout Ship run with José is the standard way to investigate them before committing to a Settlement Ship landing.