
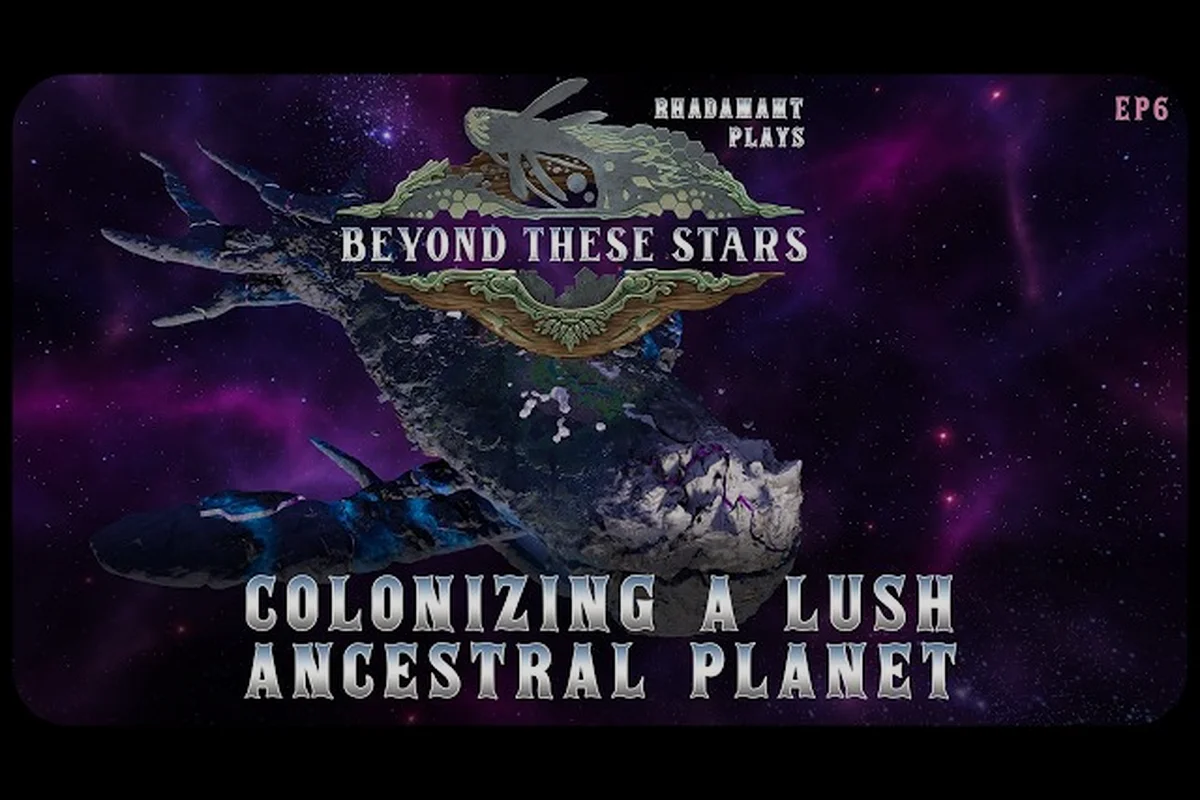
Your Peeps live on the back of Kewa, a giant sentient Space Whale who carries them across the galaxy, but Kewa cannot supply every resource a young colony needs. Outposts on nearby habitable planets fill those gaps, which is why choosing the best outpost planet early is one of the highest-leverage decisions you make. This planet guide breaks down what the developer has actually published about settleable worlds, why distance from Kewa matters, and how Space Ships turn a moon you spotted on the Galaxy Map into a working second settlement. If you want a planet-by-planet rundown of every confirmed settleable world and the travel cost from Kewa to each one, our settleable planets guide covers the full list alongside notes on which moons are worth the Space Ship fuel to claim as a second settlement.
What Makes a Planet Worth Settling in Beyond These Stars
According to the the official press kit, the studio's core design goal is that every settleable planet must give your Peeps something Kewa simply cannot. Kewa's biome produces a curated set of resources — the developer lists Wood, Water, top soil, Cotton seeds, potatoes, soup, Wool and Shell as core outputs — and that curated list is intentional. Stone and ore deposits are deliberately absent from the game as a design choice, so any heavy industrial chain is built around what Outposts can gather rather than what you can mine at home.
A settleable world is therefore judged by four lenses the studio has named explicitly: what climate it offers, what unique resources or animals it hosts, how close it sits to your current Kewa position on the Galaxy Map, and what your home settlement still struggles to produce. Two of the named outposts in official material already illustrate the spectrum. The Neutral Sector, mentioned in Dev Blog #28, is described as a moderate-climate planet carrying chickens and cows, which solves a protein and Wool problem in one trip. Other nodes on the Galaxy Map hold barren planets, space junk, strange objects, trade stations and aliens — the diary calls these "node types" rather than buildings you place, so a "trade station" is a map feature you travel to, not a structure you construct.
The planet you pick first also sets your long-term logistics shape. Outposts are reached by Space Ships launched from a Space Port — a Space Port can hold up to four Landing Pads, and each pad takes one ship at a time. The settlement ship itself is not built by the player; you trigger it from the Galaxy Map. Because travel time scales with distance, a planet that sits two nodes away from Kewa behaves very differently from one hugging the whale's current orbit, and that distance is the single biggest lever you control when choosing the best outpost planet.
| Settleable Planet Factor | What the Developer Has Published | Player Decision |
|---|---|---|
| Climate | Hot, cold or moderate, as referenced in Dev Blog #29 (a hot galaxy drags Kewa's happiness down) | Match outfit production (Tailor output) to climate |
| Unique Resources | Neutral Sector offers chickens and cows; Shell, top soil and Wool appear in other biomes | Pick the planet that solves your current shortage |
| Distance from Kewa | Closer = faster Space Ship round trips, more time before the whale moves on | Prioritize proximity for your first Outpost |
| Missing from Kewa | Stone and ore deposits are absent by design; Advanced Goods require research | Settle where you can produce what Kewa cannot |
Why Kewa Alone Is Never Enough
Kewa is a character with health and happiness, not a factory, and the studio frames the Outpost loop as a partnership rather than a transplant. Your Peeps on Kewa run Shifts, hold Celebrations when a high happiness threshold is met in one location, and recover from Sickness in the Apothecary — but the whale's back is finite. Advanced Goods, which the developer confirms exist as a researched category without publishing the recipe, almost always come from off-whale production because the home biome is tuned for staples rather than advanced manufacturing.
This is also why the home Spaceship, the early Home Spaceship that slowly produces what your first Peeps need, eventually becomes a logistics hub rather than a production hub. Once a Tailor on Kewa has Cold Weather Clothing and Warm Weather Clothing sorted, your real growth axis is shipping raw inputs from an Outpost and shipping finished goods back. A well-chosen Outpost is therefore the place where the resources Kewa cannot generate become inputs your Peeps can refine, ship, and consume.
How to Settle a Planet Step by Step
The official flow for settling a planet is short and named, because the studio has only published a single Settlement Ship rather than a customizable colonizer. The Settlement Ship is not built by the player; it is the result of progressing the Galaxy Map until a node meets the developer's settleable criteria, then committing. From the player side, the loop is research, scout, decide, settle, and supply.
| Step | What You Do | Verified Tool or Ship | Source |
|---|---|---|---|
| 1 | Open the Galaxy Map, partially visible at first and unlocking over time | Galaxy Map | Dev Blog #28 |
| 2 | Visit nodes with the Scout Ship and gather intel with José | Scout Ship, Landing Pad | Verified ship list |
| 3 | Pick a habitable planet whose resources solve a Kewa shortage | Settlement Ship (not player-built) | Developer Diary |
| 4 | Land the Settlement Ship and lay the first Outpost buildings | Outpost (planetary layer) | Developer Diary |
| 5 | Build a Space Port with Landing Pads and run a shuttle loop | Space Port, up to 4 Landing Pads | Verified buildings list |
| 6 | Feed Kewa with whatever the Outpost produces that the whale lacks | Return cargo via Space Ships | Developer Diary |
A few mechanics shape this flow that are easy to get wrong. First, Space Ships cannot land on Kewa without a Landing Pad, so any Outpost logistics must include pads on both ends of the route. Second, the Spaceship Builder is the only building that produces player-built ships, and the named types are the Scout Ship, the Trade Ship, and other research-gated hulls — you do not build the Settlement Ship. Third, the Settlement Ship itself acts as your first planetary structure, so you are choosing the location, not designing a colony core from scratch.
The Settlement Ship Itself
Because the Settlement Ship is delivered rather than built, the choice of where it lands is the choice that locks in your Outpost's geography. The Developer Diary on Settleable Planets is explicit that the developer's design intent is for players to feel that the planet they land on is one Kewa "chose" in some sense, and that the Outpost supplements what Kewa cannot supply. Reading the same diary again, two details matter: the Settlement Ship lands on a planet, and the player does not pick a different settler class, you pick a location. That makes map awareness, not build optimization, the central skill.
A practical implication is that you should scout before you settle. The Scout Ship, with José aboard, can investigate nodes without committing, and the early portion of Dev Blog #28 describes the Galaxy Map as partially visible at first and unlocking over time, which means the second-best candidate often appears only after your first settlement. Plan your first choice to be the planet you are confident in, not the one you hope is best.
Habitable Planets, Barren Planets, and What Ancestral Planets Are
The developer's official wording splits nodes into several types, and players sometimes blur them. The Galaxy Map can hold barren planets, space junk, strange objects, trade stations, and aliens in addition to the habitable planets you can settle. Of these, only the habitable tier supports a long-term Outpost, because the developer's settleable-planet criteria include the resources or animals that make a colony viable.
The phrase "ancestral planets" is not used in the official material the studio has published to date. As of the October 2026 1.0 launch, the developer has not published a mechanic, building, or map label called "ancestral planets" — the term is best read as a community concept players use to describe earlier-settled or culturally significant Outposts, rather than a named in-game feature. If you encounter it in a guide or forum post, treat it as flavor text rather than a system, and verify the actual gameplay hook against the Developer Diary.
The Neutral Sector, named in Dev Blog #28, is the only sector the studio has published with a specific resource payload: a moderate-climate planet carrying chickens and cows. Cows unlock a meat and leather economy; chickens unlock eggs and a steady protein source. Both are valuable precisely because Kewa's curated set of resources does not include a steady meat supply, so a planet that hosts animals is solving a real production gap.
| Node Type on the Galaxy Map | Settleable? | Verified Reference |
|---|---|---|
| Habitable planet with resources or animals | Yes, via Settlement Ship | Developer Diary on Settleable Planets |
| Barren planet | No published settlement mechanic | Dev Blog #28 (listed as a node type) |
| Space junk | No — investigative node | Dev Blog #28 |
| Strange objects | No — investigative node | Dev Blog #28 |
| Trade station | No — you travel there, you do not build it | Dev Blog #28 |
| Aliens (e.g. Ublo) | No — encounter node, rewards vary | Dev Blog #26 |
| Neutral Sector planet | Yes — moderate climate, chickens, cows | Dev Blog #28 |
Climate, Animals, and Why They Matter
Climate matters because the Tailor is the only building that turns fabrics into Cold Weather Clothing and Warm Weather Clothing, and these outfits gate Peep efficiency on extreme worlds. A planet that is too cold for un-suited Peeps will run Shifts slower and trigger Sickness more often, which Dev Blog #25 ties to falling energy at the start of a shift. A planet that is too hot drags Kewa's happiness down, per Dev Blog #29, and if Kewa's happiness falls far enough, the whale will begin emergency travel somewhere cold — that is the published failure mode.
Animals matter because they add resources that the curated Kewa list does not include. The Pasture produces Wool on a planet with sheep, and Cotton seeds can be found on compatible biomes, but cows and chickens are tied to specific planets the developer has chosen. A planet with both is a multiplier, because you get the protein axis and the by-product axis (leather, eggs) without paying for a second Outpost.
Space Ships and the Ship Guide for Outpost Logistics
The Outpost loop is held together by Space Ships, and the developer has named the verified hulls explicitly. The Scout Ship is the early-game ship you use with José to investigate nodes on the Galaxy Map; the Trade Ship is the cargo hull you use to ferry resources between Kewa and a Space Port. Player-built ships come from the Spaceship Builder, and a Space Port can hold up to four Landing Pads with each pad taking one ship at a time, so four ships is the practical ceiling per port until you research more.
| Ship | Role | Who Builds It | Landing Requirement |
|---|---|---|---|
| Home Spaceship | Early-game production + Peep arrival | Player | Landing Pad on Kewa |
| Scout Ship | Investigate Galaxy Map nodes with José | Player (Spaceship Builder) | Landing Pad |
| Trade Ship | Cargo runs between Kewa and Outposts | Player (Spaceship Builder) | Landing Pad on both ends |
| Settlement Ship | Land a new Outpost | Not built by the player | Surface of a settleable planet |
The single highest-leverage logistics rule, per the developer, is that Space Ships cannot land on Kewa without a Landing Pad, so a missing pad on the home side is a hard stop. The second is that a Space Port holds up to four Landing Pads, and each pad takes one ship at a time, so overbuilding pads without ships wastes nothing but is also useless. A clean build order for an Outpost-focused run looks like Spaceship Builder → Trade Ship → second Space Port on the planet → Landing Pads on both ends → continuous cargo loop.
What the Developer Has and Has Not Published About Ships
The studio has been explicit about ship names and roles, but deliberately vague about combat, fuel, and durability systems. There is no published combat system in this game, no published fuel gauge, and no published damage curve for ships. If you read a guide that claims a Trade Ship has a specific cargo tonnage or a Scout Ship has a scan radius, treat that as community testing rather than official fact, because the developer has not published those numbers as of the October 2026 launch.
The official Steam store page tags the game as Simulation and Strategy with no combat tags, and the verified ship list is short and named. The pattern across the developer's material is conservative: they name what exists and leave the rest unsaid, so the safe default when you read a claim about a specific ship stat is to wait for the dev to confirm it.
Choosing the Best Outpost Planet for Your Run
Because the developer has not published a numerical tier list, the best outpost planet is the one that solves your single biggest production gap, sits close to Kewa, and matches your Tailor's outfit output. The decision is a comparison, not a ranking, and the comparison has three columns you can fill in yourself: what Kewa already produces well, what your Peeps are starving for, and what the candidate planet offers. If your bottleneck is protein, the Neutral Sector planet with chickens and cows wins on resources even if a closer barren world exists. If your bottleneck is Wool and Cotton, a planet that hosts sheep and Cotton seeds wins on raw inputs. If your bottleneck is something Kewa will never produce, an outpost that imports a different finished good via a trade station is the cleanest answer.
| Your Current Bottleneck | Best Outpost Type | Why It Wins | Source |
|---|---|---|---|
| Protein (no chickens, no cows on Kewa) | Neutral Sector planet | Moderate climate + chickens + cows | Dev Blog #28 |
| Wool and Cotton | A planet with sheep and Cotton seeds | Pasture output on a compatible biome | Verified buildings list |
| Cold or hot biome efficiency | A planet matching your Tailor's current stock | Tailor output already on Kewa | Dev Blogs #22 and #29 |
| Advanced Goods input | A planet with research-gated resources | Advanced Goods require research, not a recipe | Verified resources list |
Distance matters because the Galaxy Map is partially visible at first and unlocks over time, and your first Outpost is reached by the Settlement Ship while later Outposts use Trade Ships. A close planet lets you run a shuttle loop with a single Trade Ship and a single Space Port, which is the cheapest configuration to maintain. A far planet needs more pads, more ships, and more time, which is fine for a second or third Outpost but punishing as your first.
A Practical First-Outpost Choice
The most common winning first choice, based on what the developer has named, is the closest planet that hosts at least one animal or one resource Kewa cannot produce. A planet with chickens, cows, sheep or Cotton seeds is worth the trip because it pays back in food and clothing, which are the two systems your Peeps consume every shift. A planet that is barren but rich in Shell is a second-priority target because Shell feeds the Trawler and supports your wider crafting tree, but Shell alone rarely justifies the early Outpost slot.
A practical second Outpost is the one that solves the gap your first Outpost could not. If your first Outpost is the Neutral Sector planet and you still lack Cotton, scout for a planet with Cotton seeds and set up a second Space Port. If your first Outpost is a Shell planet and your Peeps are still protein-starved, send the next Settlement Ship to a moderate-climate world with cows. The Outpost system rewards stacking, not min-maxing, because each planet solves one or two problems rather than everything.
Frequently Asked Questions
What is the best outpost planet in Beyond These Stars?
There is no published tier list, so the best outpost planet is the closest habitable world that hosts at least one resource or animal Kewa cannot produce. The Neutral Sector planet named in Dev Blog #28 is the only official example with a specific payload, carrying chickens and cows on a moderate-climate world, and it is the strongest generic first pick because it solves the protein and by-product gap in a single Outpost.
How do you settle a planet in Beyond These Stars?
You settle a planet by triggering the Settlement Ship from the Galaxy Map after scouting a node with the Scout Ship and José. The Settlement Ship is not built by the player; you commit to a location, the ship lands, and you begin laying Outpost buildings. A Space Port with up to four Landing Pads and a Trade Ship shuttle are the minimum logistics layer you need to keep the new settlement supplied.
What are ancestral planets in Beyond These Stars?
The phrase "ancestral planets" does not appear in any official developer material published as of the October 2026 1.0 launch. As far as the studio's posts go, there is no mechanic, map label, or building called "ancestral planets." Players sometimes use the term informally to describe an earlier-settled or culturally significant Outpost, but the developer has not published a system behind that name.
Which Space Ships are best for Outpost logistics?
The Trade Ship is the dedicated cargo hull for Outpost runs, while the Scout Ship is the exploration hull you use before you settle. Both are built in the Spaceship Builder and both need a Landing Pad on Kewa and on the Outpost, because Space Ships cannot land on Kewa without a Landing Pad. A Space Port can hold up to four Landing Pads, with each pad taking one ship at a time, so four Trade Ships is the practical per-port ceiling.
Can I settle more than one planet?
Yes. The Outpost system is designed to layer multiple planets, and the developer frames the loop as Kewa plus supplementary worlds. A common pattern is a protein planet first, a Wool or Cotton planet second, and a Shell or research-gated planet third, each connected by its own Space Port and Trade Ship loop. The Galaxy Map unlocks more nodes over time, so the second and third candidates often appear only after your first settlement is already running.