
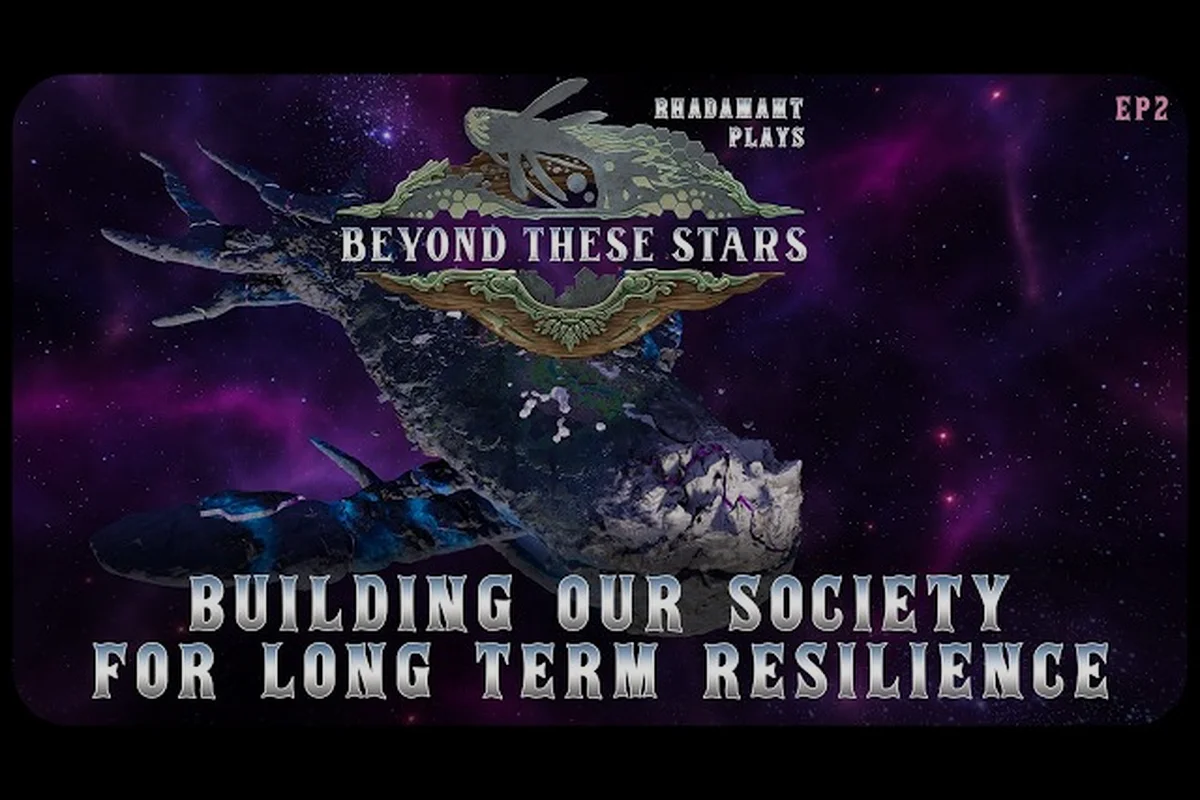
Happiness sits at the center of every decision your Peeps make on the back of Kewa, the sentient Space Whale who carries your settlement across the galaxy. When your population feels good, the Fairground fires up, production lines hum, and new arrivals seem to appear out of thin air. When happiness tanks, the settlement slows to a crawl, sickness spreads, and organized walkouts grind your shift cycle to a halt. The difference between a thriving colony and a failing one usually comes down to how well you read those small mood shifts before they snowball into a full-blown crisis. For the primary source, see Dev Blog #22 on Celebrations.
This guide walks through the core happiness mechanics the developer has officially described, including the Strike system (Dev Blog #23), the Celebration system (Dev Blog #22), and the Sickness thresholds (Dev Blog #25). You will learn what actually moves the needle on Peep mood, what does not, and how to keep your settlement humming through every season.
How Peep Happiness Actually Works in Beyond These Stars
Happiness in Beyond These Stars is not a single number floating over each Peep's head. It is an aggregate settlement-wide mood driven by overlapping needs, environmental conditions, and the success or failure of recent shifts. According to the developer's official beginner's guide (linked from the release and Hotfix #1 posts), Peeps are satisfied when their basic needs are met and frustrated when they are not. The longer a frustration goes unaddressed, the more likely it is to escalate into a strike.
| Factor | Effect on Peep Happiness | Official Source |
|---|---|---|
| Full meals from the Kitchen | Raises collective mood and sickness resistance | Dev Blog #25 |
| Warm or Cold Weather Clothing matched to climate | Prevents comfort-driven strikes | Tailor building description |
| Active pollution from industrial buildings | Drags mood and biome health down over time | Dev Blog #29 |
| Tree planting and clean rivers | Buffs mood and keeps Kewa's biome healthy | Dev Blog #29 |
| High shift energy depletion | Increases sickness chance at the start of the next shift | Dev Blog #25 |
Two distinct happiness systems run in parallel: the Peep happiness meter that drives mood, sickness, and strikes, and the separate Kewa happiness meter that tracks the Space Whale's own state. Kewa's mood is affected by galaxy temperature, dialogue choices you make, and how clean the planet on their back stays. If Kewa's happiness drops far enough, the whale begins emergency travel toward a colder system, which can disrupt your carefully planned shift rotation. Treating Kewa as a Peep with very specific tastes is the right mental model.
A useful framing is to think of happiness as a pressure system rather than a slider. Small drips of frustration (a delayed meal, a walk across polluted ground, a shift that drains energy too fast) accumulate until something pops. The pop might be a Celebration if mood is high, a Mourning event if a Peep dies, or a Strike if a specific need is being ignored.
What Triggers a Celebration — and What It Actually Does
Celebrations are the upside of the pressure system. Per Dev Blog #22, when enough Peeps in a single location pass a high happiness threshold, they spontaneously gather at the nearest Fairground for a Celebration. While the Celebration is active, the settlement receives production, movement, and sickness bonuses. The Fairground is the only building that hosts these events, which makes its placement a real strategic choice.
| Celebration Effect | Type | Practical Impact |
|---|---|---|
| Production bonus | Settlement-wide | Speeds up Kitchen, Pasture, Weaver, and Tailor output |
| Movement bonus | Local | Peeps travel between buildings faster, cutting idle time |
| Sickness resistance bonus | Settlement-wide | Lowers the chance of sickness at shift start |
| Mood uplift | Peeps in radius | Reinforces the trigger, extending the celebration |
The trigger is not "build a Fairground and wait." The Fairground is a venue, not a cause. Mood has to climb past the high threshold in a tight cluster of Peeps first, and that usually means you have stacked several positive modifiers: warm clothing on a cold planet, full meals, no recent Mourning events, and a clean biome with low pollution. When those conditions line up, the Celebration feels almost like the game rewarding you for playing well.
If you are trying to engineer a Celebration on demand, the highest-leverage moves are: (1) make sure every Peep has appropriate clothing for the current planet, (2) keep the Kitchen fed so nobody is missing a meal, and (3) place the Fairground inside a dense residential cluster so the "enough Peeps in one location" condition is easier to hit. Placing a Fairground far from where Peeps actually live often means it sits unused for long stretches, which is a common early-game mistake.
Celebrations also create a soft defense against the other big mood killer, which is Mourning. A Peep that dies in the middle of an active Celebration still triggers a Mourning event, but the mood hit is smaller because the surrounding population is already riding a happiness high. Stacking a Celebration on top of a clean biome is the closest thing the game has to a "golden age."
Strikes, Mourning, and the Road to Peep Sickness
The downside of the pressure system is what happens when needs are ignored. Dev Blog #23 describes the Strike system in detail: the first strike a settlement experiences lasts 3 shifts, and you receive a goal tied to the root cause of the walkout. The strike can be ended early if you fulfill that goal before the timer runs out. While the strike is active, the striking Peeps hold signs and block other Peeps from passing, which slows the entire settlement because workers have to route around them. If you want the deeper tactical breakdown of strike durations and how to defuse them, the dedicated strike duration guide covers the Mourning and recovery flow in more detail.
| Disruption | Trigger | Duration | End Condition |
|---|---|---|---|
| Strike | Ignored specific need (e.g., no food, no clothing) | 3 shifts (first strike) | Complete the goal tied to the cause |
| Mourning | A Peep dies | Variable | Time-based, blocked by active Strikes |
| Sickness | Low shift energy + low happiness | Until healed | Assign a sick Peep to the Apothecary |
Sickness is closely tied to the same pressure system. Dev Blog #25 confirms that sickness chance rises at the start of a shift as energy falls, which means a Peep who ends the previous shift exhausted is far more likely to wake up sick. The Apothecary is the dedicated healing building, and sending a sick Peep there is the standard recovery route. The Cleaner, which mixes Water and Chemicals, is the most direct way to address the pollution that drags mood down, while the Tree Nursery offers an indirect path by restoring forest cover and biome health.
The way these three systems interact matters. A Peep who is sick and still working cannot be assigned to the Apothecary, so they continue to drain shift energy, which raises next-shift sickness odds across the entire workforce. A Peep caught up in a Mourning event holds up surrounding Peeps, much like a strike, but Mourning cannot be resolved by completing a goal. Strikes can also overlap with Mourning, and the two are tracked separately. If a settlement is in Mourning, striking Peeps will not start a new strike, which sounds like a relief but is actually a sign that the population is in deep distress.
For new players, the practical takeaway is straightforward: do not let any one of these three systems run unattended. Check the Apothecary daily, scan for strike warnings, and make sure recent deaths are being mourned rather than ignored. The Peep wellbeing guide goes deeper into energy, rest, and the mechanics of keeping your workforce healthy enough to avoid the sickness curve in the first place.
Building a Settlement That Stays Happy by Default
Happiness management in Beyond These Stars rewards defensive play more than reactive heroics. A settlement that gets its basics right rarely sees strikes, while a settlement that chases expansion without clothing, food, or pollution control will burn through Celebrations as fast as it earns them. Below is a checklist of the high-leverage habits that experienced players report keep their mood bar steady.
| Habit | What It Prevents | Effort Cost |
|---|---|---|
| Build a Kitchen and keep it fed | Hunger-driven strikes | Low (renewable inputs) |
| Build a Tailor and match clothing to climate | Comfort-driven strikes | Medium (needs Wool or Cotton seeds) |
| Place a Cleaner near polluting buildings | Slow pollution buildup | Low (Water + Chemicals) |
| Plant trees in clusters around housing | Biome health decline | Low (Tree Nursery) |
| Place the Fairground inside a housing cluster | Missed Celebration triggers | One-time |
| Build an Apothecary before the first sickness | Sick Peeps stuck on shift | Medium (one-time) |
| Use Shifts to rotate high-energy jobs | Shift-end exhaustion → sickness | Ongoing |
The Shifts system is the connective tissue between all of this. By rotating Peeps through high-energy and low-energy jobs, you can keep shift-end energy from collapsing and avoid the sickness spiral. If you are new to how Shifts work and why a bad shift rotation leads to homelessness-style bottlenecks, the shift system guide explains the routing logic that turns a scattered settlement into a humming one.
Climate management is the easiest piece to overlook. On a hot planet, missing Warm Weather Clothing will quietly drag happiness down for the entire population. On a cold planet, the same is true for Cold Weather Clothing. The Tailor building is the only structure that produces these from fabrics, and the Weaver is the only building that converts raw Wool or Cotton into those fabrics. Skipping either of those buildings and jumping straight to "advanced" production is one of the most common ways new players end up with chronic low mood and no obvious cause.
There is also a galaxy-scale pressure you should not ignore. Per Dev Blog #29, a hot galaxy drags Kewa's happiness down, and if it falls far enough, Kewa begins emergency travel toward a colder system. Emergency travel is disruptive because it can change the planets and resources in your immediate orbit, which means your carefully tuned shift rotation and food pipeline may need to be rebuilt on the fly. The galaxy temperature mechanic is one of the reasons the developer recommends playing Story Mode first, since it teaches the rhythm of galaxy changes and Kewa's reactions before you start a sandbox run with custom parameters (Dev Blog #27).
Finally, do not underestimate the value of layout. Adjacency bonuses affect both efficiency and travel time, and a settlement where Peeps have to walk long distances between the Kitchen, the housing cluster, and the Fairground wastes energy on every shift. Tighter clusters tend to feel happier because Peeps spend less of their shift walking and more of it working, which keeps shift-end energy higher and sickness odds lower.
How to Stop a Strike Before It Spreads
Stopping a strike comes down to two things: reading the warning signs, and finishing the goal the game gives you. Dev Blog #23 is explicit that the first strike lasts 3 shifts and that you receive a goal tied to the root cause of the walkout. The goal might be "produce X meals" or "deliver Y sets of clothing" or "build a Z structure." Finishing the goal ends the strike early and returns the striking Peeps to work.
| Warning Sign | Likely Root Cause | Quick Fix |
|---|---|---|
| Peeps gathering near the Fairground looking restless | Hunger or thirst | Build or restock the Kitchen |
| Peeps shivering or sweating near housing | Missing climate clothing | Rush Tailor output for the right garment |
| Peeps crowding around the Apothecary | Lingering sickness | Add a second Apothecary, isolate sick Peeps |
| Peeps refusing to walk through a polluted area | Unmanaged pollution | Add a Cleaner upstream of the route |
The mistake to avoid is treating the symptom instead of the cause. A strike that started because the Kitchen ran out of ingredients will not end because you build a new Fairground. The goal indicator is the contract; the rest of youMourning recovery guide into Mourning events and what to do about Peep deaths, the Mourning recovery guide covers the full escalation path.
Speed matters. While a strike is active, the striking Peeps are physically blocking nearby routes, which means every other Peep in the cluster has to walk further. That extra walking burns shift energy, which raises next-shift sickness odds, which in turn can trigger a Mourning event if a Peep dies. A single three-shift strike can therefore cascade into a full mood crisis if it is not defused quickly.
There is also a soft lesson about pacing. The first strike is short (3 shifts) and the goal is usually reachable with what you already have on the map. Later strikes, if your settlement has been ignoring needs for a long time, can compound because multiple needs are unmet at once. By the time the second or third strike fires, the goal may require a new building you have never constructed before, which is why defensive play beats reactive play every time.
Frequently Asked Questions
What is the fastest way to make Peeps happy in Beyond These Stars?
Feed them, clothe them, and keep the biome clean. Building a Kitchen and a Tailor, matching Warm Weather or Cold Weather Clothing to the planet, and placing a Cleaner near industrial buildings addresses the three needs the developer has explicitly tied to mood in Dev Blogs #22, #25, and #29.
How do I stop a strike once it starts?
Read the goal the game gives you and finish it. The first strike lasts 3 shifts and the goal is tied to the root cause, so building or producing the right thing ends the strike early. Defusing the cause is more effective than trying to route around the blocking Peeps.
Why are my Peeps getting sick even with food and clothing?
Sickness is tied to shift energy, not just happiness. Peeps who end a shift with very low energy are far more likely to wake up sick, per Dev Blog #25. Rotating jobs with the Shifts system and avoiding overly long walking routes are the standard ways to keep energy from collapsing.
Do Fairgrounds actually help with happiness?
Indirectly. Fairgrounds host Celebrations when a cluster of Peeps passes a high happiness threshold, and Celebrations grant production, movement, and sickness bonuses. The Fairground is the venue, not the cause, so it works best when the surrounding population is already well cared for.
Can Kewa's mood affect Peep happiness?
Yes. Kewa has a separate happiness meter that drops in hot galaxies and rises when the biome is clean. When Kewa's mood falls far enough, the whale starts emergency travel to a colder system, which can disrupt your settlement. Keeping pollution low and answering Kewa's dialogue choices thoughtfully protects both meters at once.