
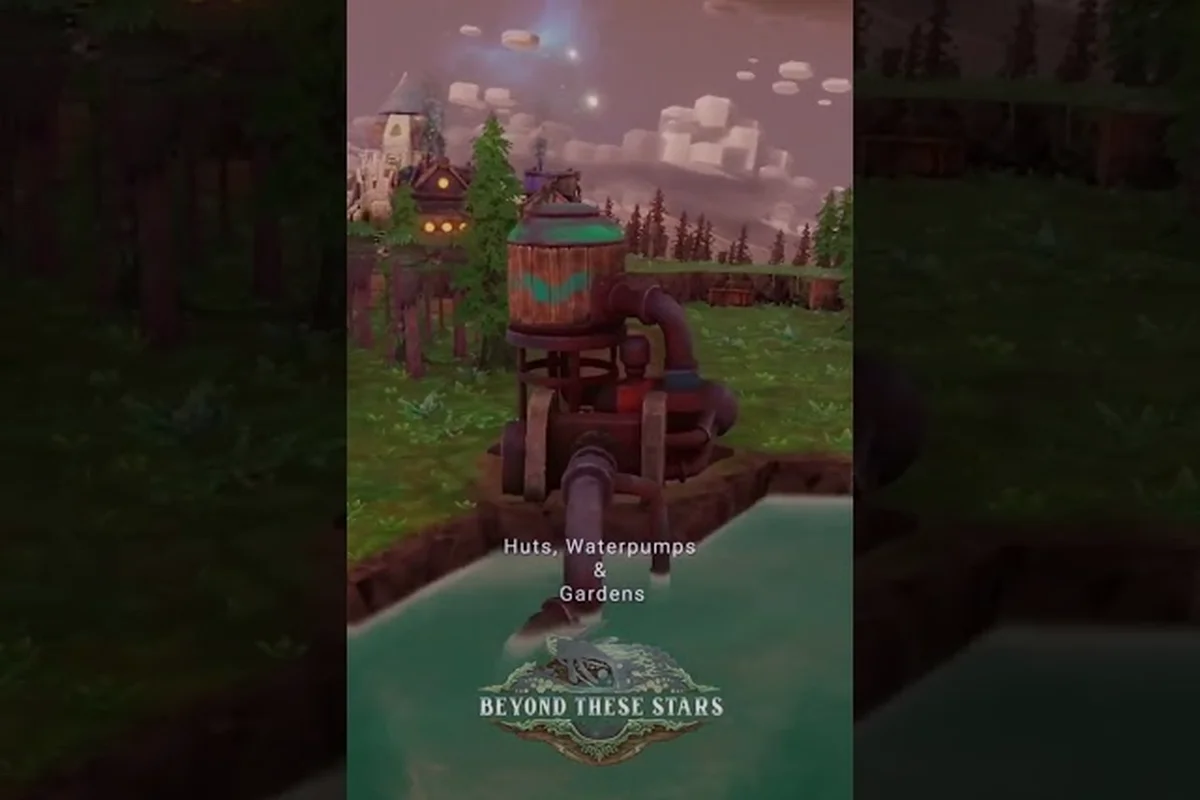
Deciding what to build first on Kewa defines how the rest of your run feels. Beyond These Stars launched on 2026-10-16 as a full 1.0 release from Balancing Monkey Games, so community tier lists have not had time to settle yet, and most specific numbers — building costs, shift durations, exact happiness thresholds — are still unpublished. The good news is the developer has named the buildings, named the resources, and explained the systems well enough to reason from. This guide focuses on the beyond these stars best buildings to place in the first few sessions, broken into starter shelter, gardens and pollution control, terraforming-adjacent infrastructure like bridges and elevators, and the decoration pass that ties districts together. For the primary source, see Beyond These Stars on Steam.
Starter Shelters and Food Buildings for the First Hours
Your earliest decisions are about keeping Peeps alive, fed, and warm while the Home Spaceship slowly trickles out starter materials. The home base on Kewa is small, the ground is uneven, and the resources you can reach on day one are limited, so every building you place competes for the same handful of buildable tiles.
Huts and Other Early Habitations
Kewa's back does not have a traditional residential district the moment you land. The Home Spaceship acts as a temporary seed building, producing what your first handful of Peeps need until permanent housing goes down. The Peeps also need somewhere to sleep through cold nights, and that is where starter Huts come in. They are the cheapest habitation you can place, they fit the tight starter terrain, and they are easy to demolish later when you upgrade to a denser housing block.
| Early Habitation | When To Place | Strength | Tradeoff |
|---|---|---|---|
| Home Spaceship | Already placed at start | Produces starter resources | Limited capacity, cannot scale |
| Starter Huts | First 1–2 sessions | Cheap, fast, fits uneven terrain | Lower happiness ceiling than upgraded housing |
| Upgraded housing | Once districts and decorations are stable | Higher happiness, supports Celebrations | Costs Wood and a builder, needs nearby Gardens and warmth |
A common early mistake is to demolish the Home Spaceship too early. It still produces during the awkward stretch when Huts are up but you have not yet unlocked a production chain that can replace what it drips out. Hold onto it until your Kitchen and Pasture chain is feeding Peeps without help, which usually means leaving the Home Spaceship in place for several in-game days.
Kitchen, Pasture, and the Food Chain
Food is the single biggest reason Peeps stop working. The Kitchen is the verified building that turns raw ingredients into meals, and the most reliable early ingredients come from a Pasture combined with top soil and potatoes. Cotton seeds can be found on planets that support Cotton growth, and Sheep on cold-biased planets can be brought to a Pasture to produce Wool, but the developer has not published exact per-tile yields, so treat these as scale rather than targets.
Build the Pasture and the Kitchen close together. Peeps waste shifts walking between them, and the adjacency bonus for keeping food production in a tight cluster shows up as noticeably faster meals during the first winter. The Composting building matters here too, because it converts Food Waste back into something the Kitchen can re-use, and it sits naturally next to the Kitchen for the same reason.
| Food-Loop Building | Input | Output | Why It Matters Early |
|---|---|---|---|
| Pasture | Sheep, top soil | Wool, meat, milk | Only verified starter source of animal goods |
| Kitchen | Raw ingredients, soup base | Hot meals, soup | Prevents starvation during cold shifts |
| Composting | Food Waste, Wood Waste | Reusable input | Closes the loop so you do not run dry |
| Tree Nursery | Planted trees | Wood, biome health | Indirect, but supports every Wood-using chain |
Gardens, Pollution, and Keeping Kewa Happy
Beyond These Stars frames Kewa as a character with their own health and happiness, not just a chunk of ground. Gardens, trees, and a clean biome feed into that, and the developer has named two distinct approaches: planting trees through the Tree Nursery as the indirect fix, and the Cleaner building as the more direct fix when pollution gets out of hand.
Why Gardens Come Before More Housing
It is tempting to fill the starter plot with Huts as fast as possible, but raw housing without greenery and warmth tanks Peep happiness, and unhappy Peeps are the trigger for the strike system documented in Dev Blog #23. A first strike lasts three shifts, slows every nearby Peep because they hold signs and block paths, and is only ended by addressing the underlying cause. That cause is almost always overcrowding, cold, or pollution.
Plant Gardens close to housing clusters rather than off in a corner. A small Garden next to a Hut block costs almost nothing to maintain and noticeably flattens the happiness curve during the first winter. Where the terrain allows, line a path between two Hut blocks with Gardens, because Peeps walk through the path on their way to work, and the beauty bonus from a green corridor compounds across every Peep in the district.
Cleaner, Burner, and the Pollution Tradeoff
Pollution is one of the few mechanics in Beyond These Stars that has a direct cost you can see, and the developer has stated in Dev Blog #29 that planting trees, minimising pollution, and creating rivers keep the biome healthy. The two verified anti-pollution buildings are Cleaner (Peeps mix Water and Chemicals to scrub polluted tiles) and Tree Nursery (plant trees that slowly absorb pollution over many shifts). The Burner is the third piece of the same puzzle: it can be set to consume Wood, which is useful for clearing Wood Waste but it also produces its own pollution footprint, so the placement has to be on the downwind side of the settlement.
| Building | Pollution Effect | Best Placement | Watchout |
|---|---|---|---|
| Cleaner | Direct reduction | Next to a Water source and a Chemical stockpile | Pulls Peeps away from other work |
| Tree Nursery | Slow absorption | Edges of districts, along canals | Takes many shifts to pay back |
| Burner | Adds pollution | Downwind, away from Gardens and Huts | Easy to forget, hard to undo |
There is no published pollution number to aim for. Treat Cleaner placement as defensive: drop one next to the dirtiest production cluster and another near any Burner before you scale that production up. Kewa's back is not a flat grid. There are cliffs, ridges, and elevation changes that you cannot ignore, and the developer has explicitly listed bridges and elevators as player-placed structures. These are not the kind of building you place on day one, but they are the kind you wish you had placed on day one, so the right time to think about them is while your first district is still small.
Bridges, Elevators, and Movement Infrastructure
Bridges for Crossing Negative Space
A bridge is the simplest movement fix in the game: it spans a gap, lets Peeps walk across it as if it were normal ground, and removes a long detour from shift-to-shift travel. The cost is in Wood and builder time, and the real benefit is not the bridge itself but the adjacency it unlocks on the other side. A bridge that lets a Kitchen serve a Hut block on a separate plateau is worth more than a Hut block on a cliff edge that nobody can reach efficiently.
| Terrain Problem | Cheap Fix | Better Fix Later |
|---|---|---|
| Small gap between two plateaus | Single bridge tile | Bridge plus decorative railing |
| River cutting through district | Bridge across the narrow point | Bridge plus a small Garden on each end |
| Cliff isolating a resource tile | Long bridge or stair path | Bridge plus an elevator to upper levels |
Elevators for Vertical Districts
Elevators solve the cliff problem more permanently than a long bridge, because Peeps use them as continuous vertical transport instead of walking. The developer has not published elevator capacity or shift-cycle travel time, so the practical advice is to treat one elevator as serving a single vertical district rather than the whole settlement. Pair an elevator with a Hut block on the upper level and a Kitchen on the lower level, and the two floors behave like one tight district from a happiness and travel-time perspective.
| Vertical Layout | What To Build First | What To Add Later |
|---|---|---|
| Upper plateau with a view | One elevator shaft, a small Hut block | Gardens along the rim, decorative lamps |
| Two connected plateaus | Bridge plus one elevator on each side | Upgraded housing on both levels |
| Cliff isolating a mine-type tile | Stair path or bridge (no mining in this game) | Elevator once the district above is stable |
There is a small but important point here: Beyond These Stars intentionally has no stone or ore deposits. The developer has been explicit that the absence of quarries and smelters is a design choice, so do not build a bridge or an elevator down to an empty cliff expecting to mine it later. Use vertical infrastructure to connect habitable, useful tiles, not to chase resources the game does not have.
Districts, Decorations, and the Long-Game Payoff
Once the survival loop is stable — Peeps are fed, warm, and not striking — the question shifts from "what keeps us alive" to "what makes this city feel finished." Districts and decorations are the developer's answer, and they are also where Beyond These Stars starts to look more like a traditional city builder than a survival game. Districts and decorations are the developer's answer, and they are also where Beyond These Stars starts to look more like a traditional city builder than a survival game, which is exactly what the Beyond These Stars City Building breakdown unpacks in detail.
Districts as Behaviour Containers
A district in this game is not just a visual zone. It groups Peeps, lets you target production bonuses to a small area, and is the natural unit for layout upgrades. The verified bonus system is adjacency: buildings placed near related buildings run more efficiently, and decorations that raise beauty raise happiness in a wider radius. So a district is best thought of as a small, self-contained loop — a Hut block, a Kitchen, a Garden, a decorative path, and a small Fairground for Celebrations — that the player can iterate on without breaking the rest of the city.
| District Type | Core Buildings | Decorations To Add |
|---|---|---|
| Starter residential | Huts, one Garden, one path | Lamps, a small arch |
| Food production | Pasture, Kitchen, Composting | A fence around the Pasture, planters along the path |
| Pollution-control | Cleaner, Tree Nursery, one Burner | A canal from terraforming, riverside lamps |
| Vertical residential | Elevator, upgraded housing, Garden rim | Decorative railings, a viewpoint bench |
The Fairground deserves a special callout. Dev Blog #22 is the official source for Celebrations, and it states that Celebrations trigger when enough Peeps in one location pass a high happiness threshold, and that they grant production, movement, and sickness bonuses. A Fairground placed inside a stable, decorated district is a force multiplier for the entire settlement because it is the only way to actively trigger those bonuses rather than waiting for them to roll in.
Decorations and the Beauty Economy
Decorations look like a luxury, but they are a real economic input. The developer has linked beauty to happiness through the Garden and the Clean biome, and the verified buildings that raise beauty are the Garden, decorative paths, the Fairground, and the terraforming work of planting trees and digging canals. As of the October 2026 launch, the developer has not published the exact beauty-to-happiness conversion, so the practical rule is to keep decoration density even across districts rather than piling it onto one showcase area.
| Decoration | What It Does | Where It Pays Off |
|---|---|---|
| Garden | Beauty, biome health | Edges of Hut blocks, along paths |
| Lamps | Beauty, reduces night slowdowns | Path corners, near Kitchen and Apothecary |
| Decorative paths | Beauty, faster Peep movement | Between Huts and the Kitchen |
| Canals / top soil terraforming | Beauty, biome health | Anywhere a river or canal can be dug |
| Arch or gate | Beauty, marks a district | District entrance, near the Fairground |
Long-Game Buildings and the Space Layer
Once districts are stable, the next tier of decisions moves off Kewa's back and into space. The verified space-side buildings are the Space Port, the Landing Pad, the Spaceship Builder, and the Settlement Ship that you do not build but use. The Settlement Ship lands on a new planet; the player does not construct it, which the developer has stated explicitly.
The Space Port is the hub. Up to four Landing Pads can attach to a single Space Port, and each pad takes one ship at a time, so the practical move is to think of one Space Port plus four Landing Pads as a single logistics unit. The Spaceship Builder is what produces the player-built ships, and the developer has limited the player-built roster to the named ship types without publishing a per-ship stat block. Treat the early space layer as a scouting tool, not a mining layer: the Settlement Ship moves you to a new planet, the Outpost supplies what Kewa cannot, and trade stations are map-node features you travel to rather than buildings you place.
| Space Building | Player-Built | Capacity / Use | Watchout |
|---|---|---|---|
| Space Port | Yes | Up to 4 Landing Pads each | Place near a clean, flat tile |
| Landing Pad | Yes | One ship at a time | Must be attached to a Space Port |
| Spaceship Builder | Yes | Produces player ships | Long build time, needs resources |
| Settlement Ship | No | Carries Peeps to a new planet | Unlocks Outposts, not a build target |
The beyond these stars best buildings list at this stage is therefore not a list of late-game buildings to chase. It is a list of small, fast early decisions — Huts, Gardens, a Kitchen and Pasture, a Cleaner, one bridge, one elevator, a Fairground, a Space Port — that compound into a settlement Kewa is happy to carry across the galaxy.
Frequently Asked Questions
What are the beyond these stars best buildings to place on day one?
The beyond these stars best buildings to place on day one are starter Huts for housing, a Kitchen and a Pasture for food, and a Garden or two for happiness. Leave the Home Spaceship in place during this phase because it still produces starter materials. Once those are stable, add a Cleaner and a Tree Nursery to keep pollution in check.
How do beyond these stars huts compare to upgraded housing?
Huts are the cheapest habitation and fit uneven starter terrain, but they have a lower happiness ceiling. Upgraded housing costs more Wood and a builder slot, but it supports Celebrations and raises the happiness baseline for the whole district. The right move is Huts in the first session, upgraded housing once the district has Gardens and decorations around it.
Where should I place beyond these stars gardens for the biggest payoff?
Place Gardens inside district clusters rather than off in a corner. A Garden next to a Hut block raises the local happiness baseline, and a line of Gardens along a path between a Hut block and a Kitchen compounds the benefit because Peeps walk through the green corridor on every shift. Avoid placing Gardens next to a Burner, because the Burner's pollution footprint works against the Garden's biome-health effect.
Do beyond these stars bridges and elevators matter in the early game?
They matter less on day one and more by the time you have two or three stable districts. A single bridge between two plateaus unlocks adjacency that would otherwise require a long detour, and one elevator shaft lets an upper-level Hut block share a lower-level Kitchen. The developer has confirmed both are player-placed structures but has not published shift-cycle travel times, so treat one elevator as serving one vertical district rather than the whole settlement.
Are beyond these stars decorations worth placing if they do not produce resources?
Yes. Decorations feed the beauty-to-happiness loop, raise the chance of a Celebration in a stable district, and make terraforming work like canals and tree planting actually pay off visually. As of the October 2026 launch, the developer has not published the exact beauty-to-happiness conversion, so spread decorations evenly across districts instead of concentrating them in one showcase zone.